One of my IronCAD
customers came to me with a problem. He designs keyboards and he
imported a keyboard file from another program. I do not know the
original software, but it came in as solids, so it really didn't
matter. He wanted to make the top of the key face deeper.
I
started playing with the models and realized I would have to do this
with surfaces. Now, I have ZW3D at my disposal which is a
standalone surfacing package and if it was my job, I would just do it
there. But I have to provide my IronCAD customer with a viable solution
short of selling him a new CAD program. I
offer online support through Skype. I am mostly here from 4 am to 4
pm. I know, I know, but sadly the 3D CAD business has become my
life.
IronCAD has intermediate surfacing, which means it is
there to enhance its incredible solid modeling. I have always had
robust hybrid surfacing tools available, so IronCAD was not my first
surfacing tool. I have sold 3D CAD for 31 years and basic surfacing
is used by about 10% of the industry and only 2 or 3% use advanced
surfacing programs. So, it has not been a big market.
Since
my customer only had IronCAD I had to utilize the surfacing features
in IronCAD to modify the part. I just needed to show him the technique
and he could then fix the other keys.
I like this exercise
because it is so simple. Many times, we are shown extensive
modifications and they rarely relate to us. But this simple
modification can be easily understood and shows value of having
surfacing available.
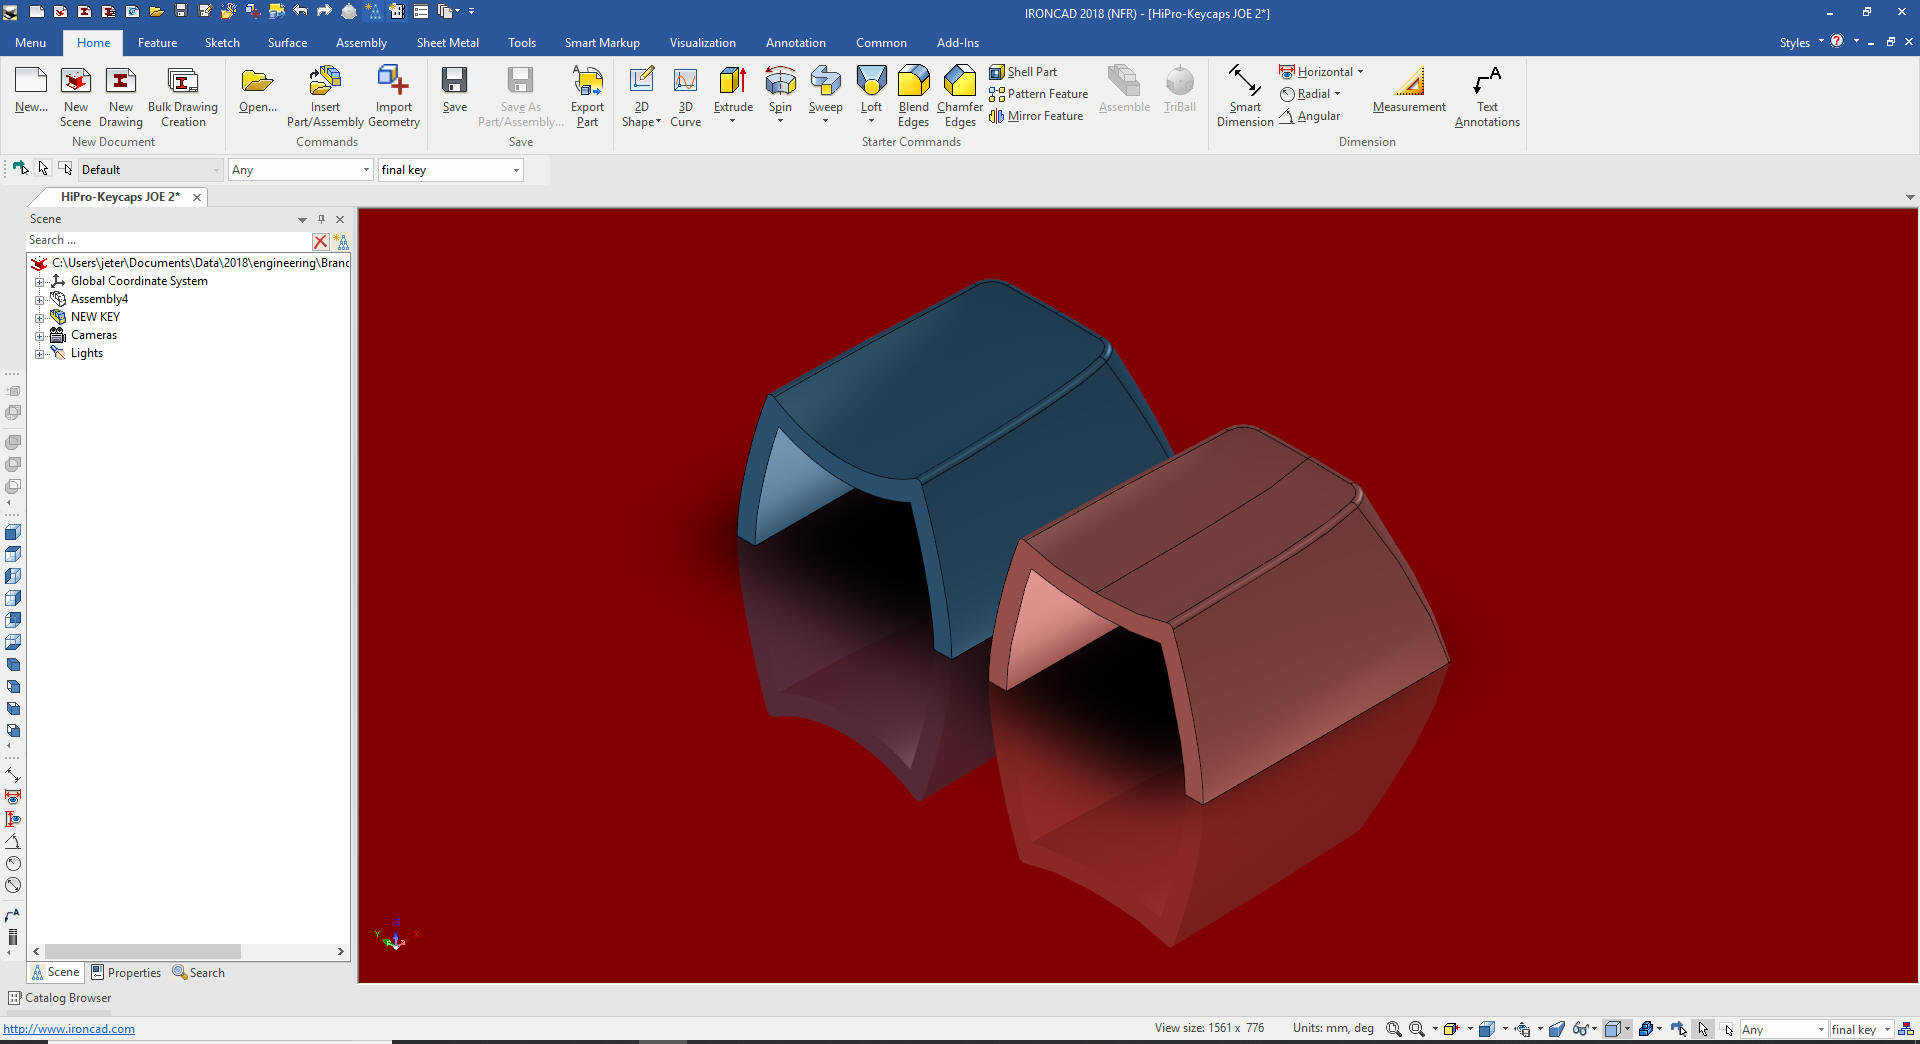
Here is the original model in mm.
The first step is to heal the brep.
Note: In solid modeling
and computer-aided design, boundary representation—often abbreviated
as B-rep or BREP—is a method for representing shapes using the
limits. A solid is represented as a collection of connected surface
elements, the boundary between solid and non-solid.
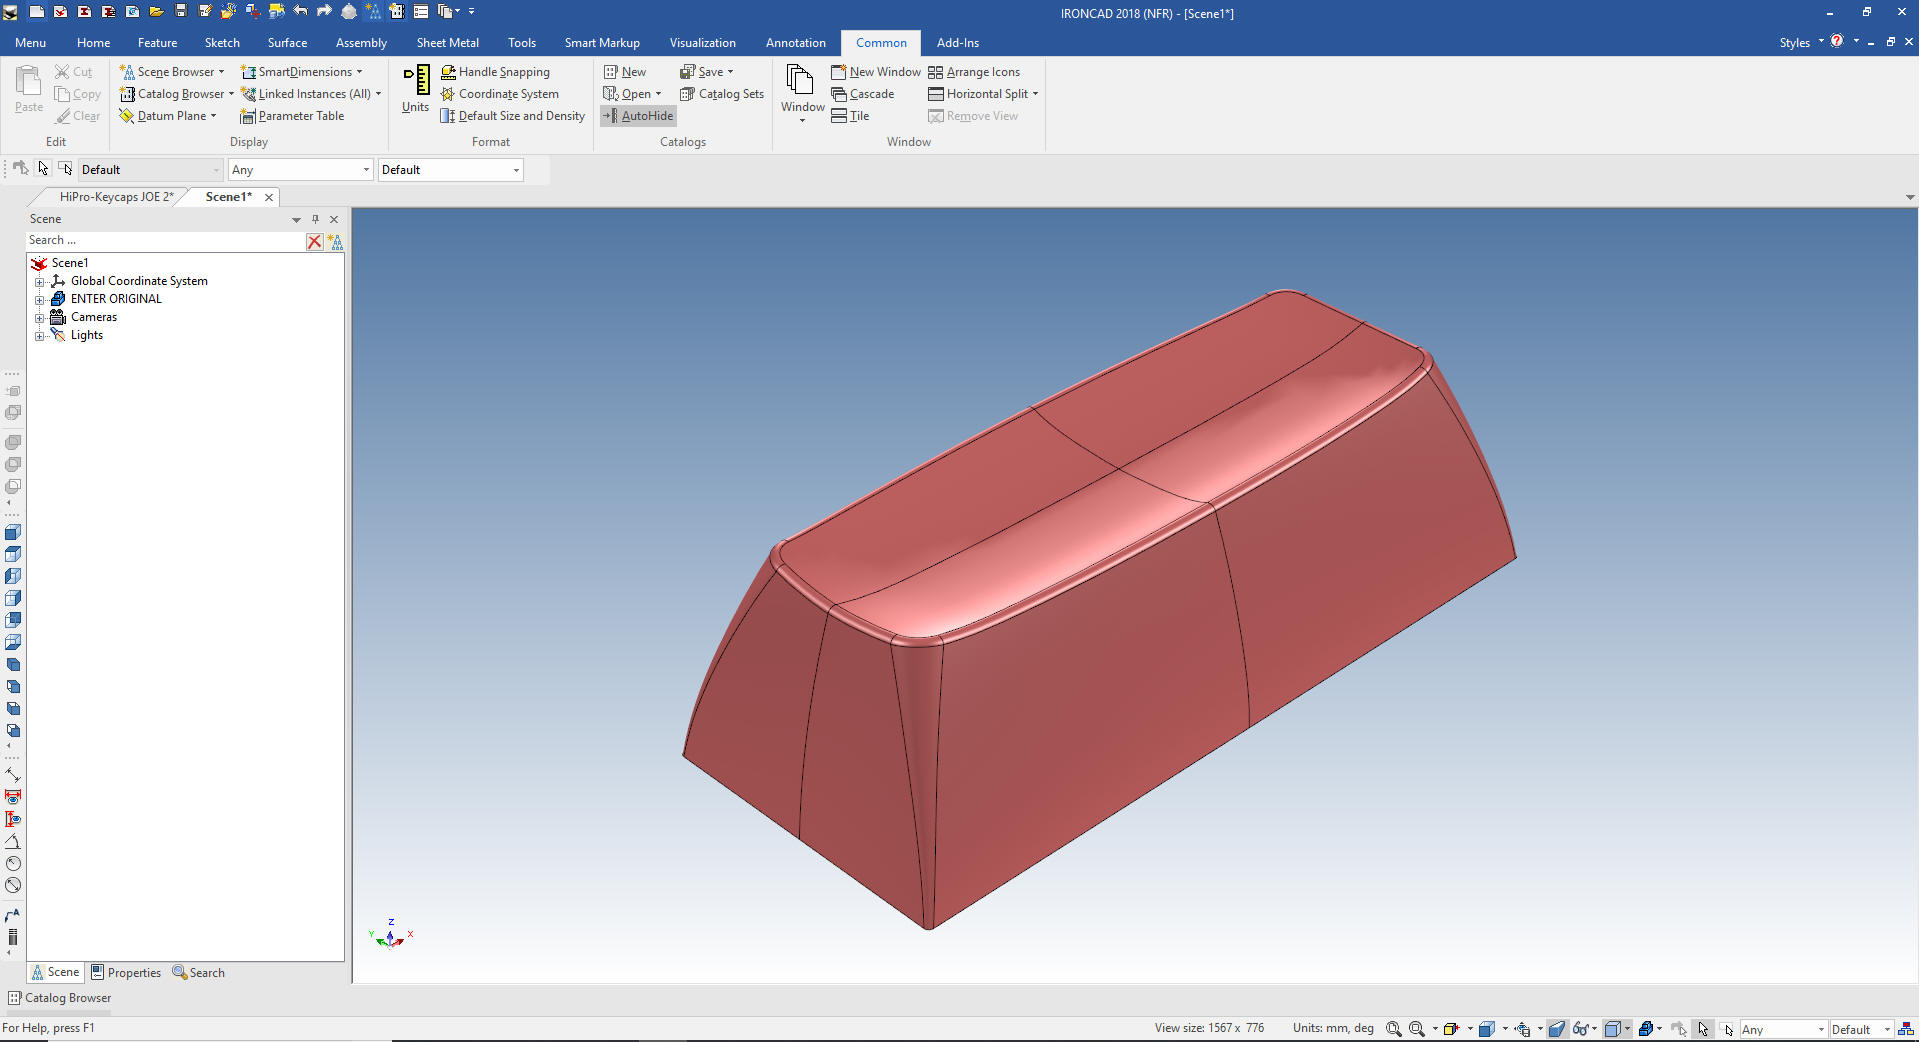
The
first thing I did was to see if I could turn the top blends into an
editable feature. IronCAD has two solid modeling kernels, one of the
things you learn if you have a problem is to change Kernels. I was
in ACIS and changed to Parasolid. Neither kernel would let me would
allow the change.
The next step was to delete the blends.
That didn't work in either kernel.
Showing differences
in Import
Using Dual Kernel and Repair options.
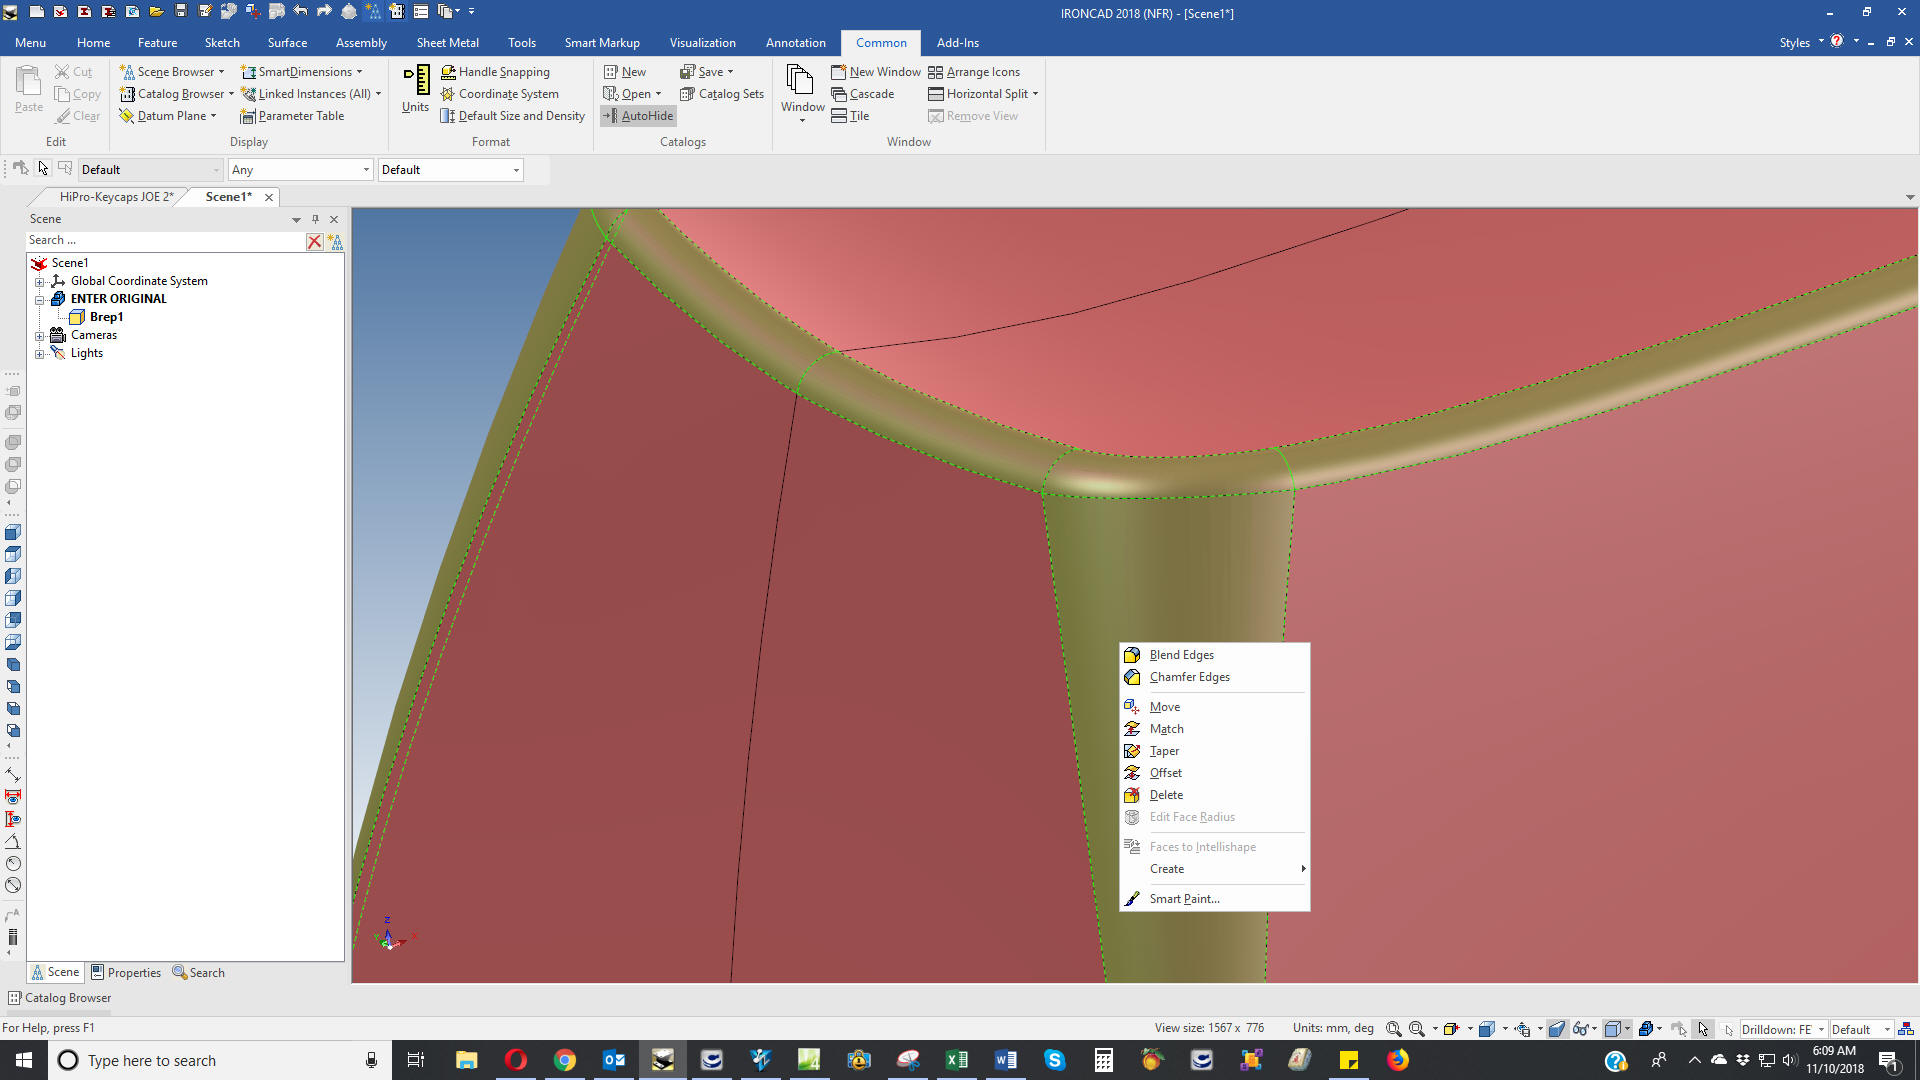
The next step would be to split the part. We dragged and dropped a hole
block on half of the key. We then tried to delete the blend again
and failed. I have done many of these kinds of problems and
understanding the basics of blends, I drag and drop another hole
block on half of the half. You can see it is made up of the basic
part plus two hole blocks.
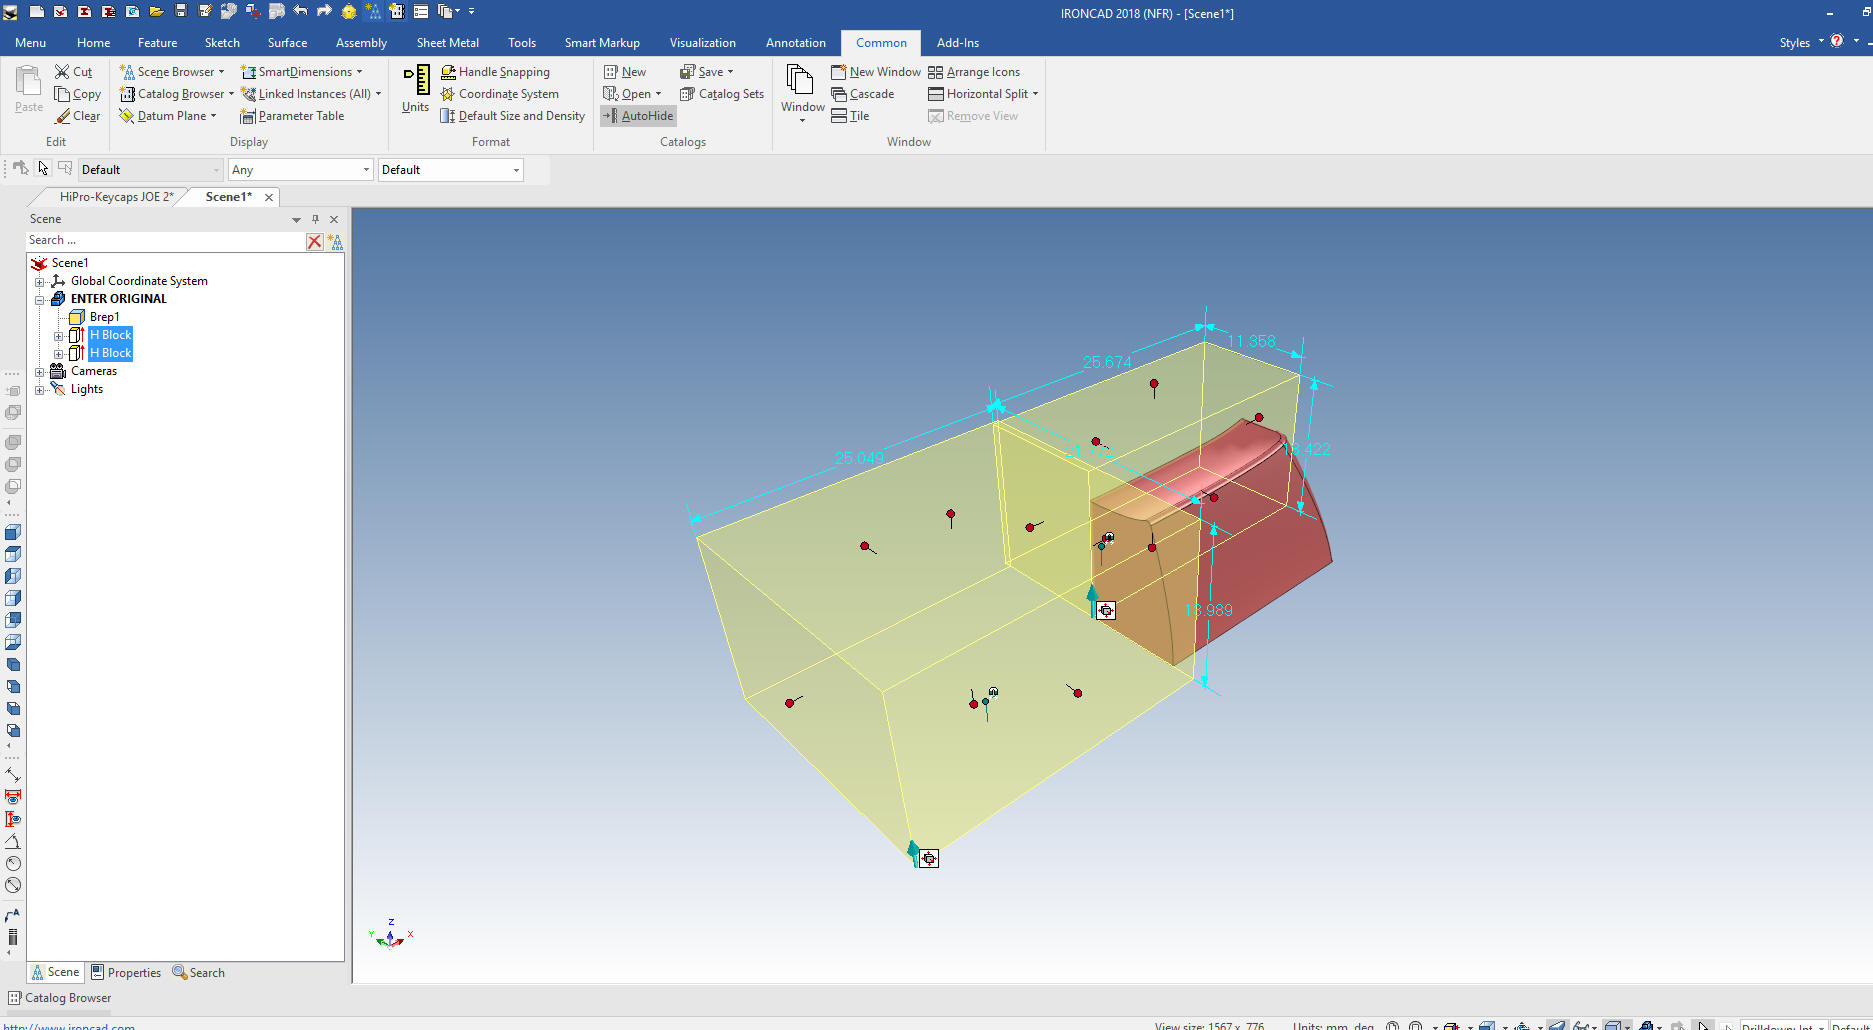
Again
we will attempt to delete the blends. Again we fail. We have another
couple of cards up our sleeve. I will combine the features which
will combine the features into one brep and heal.
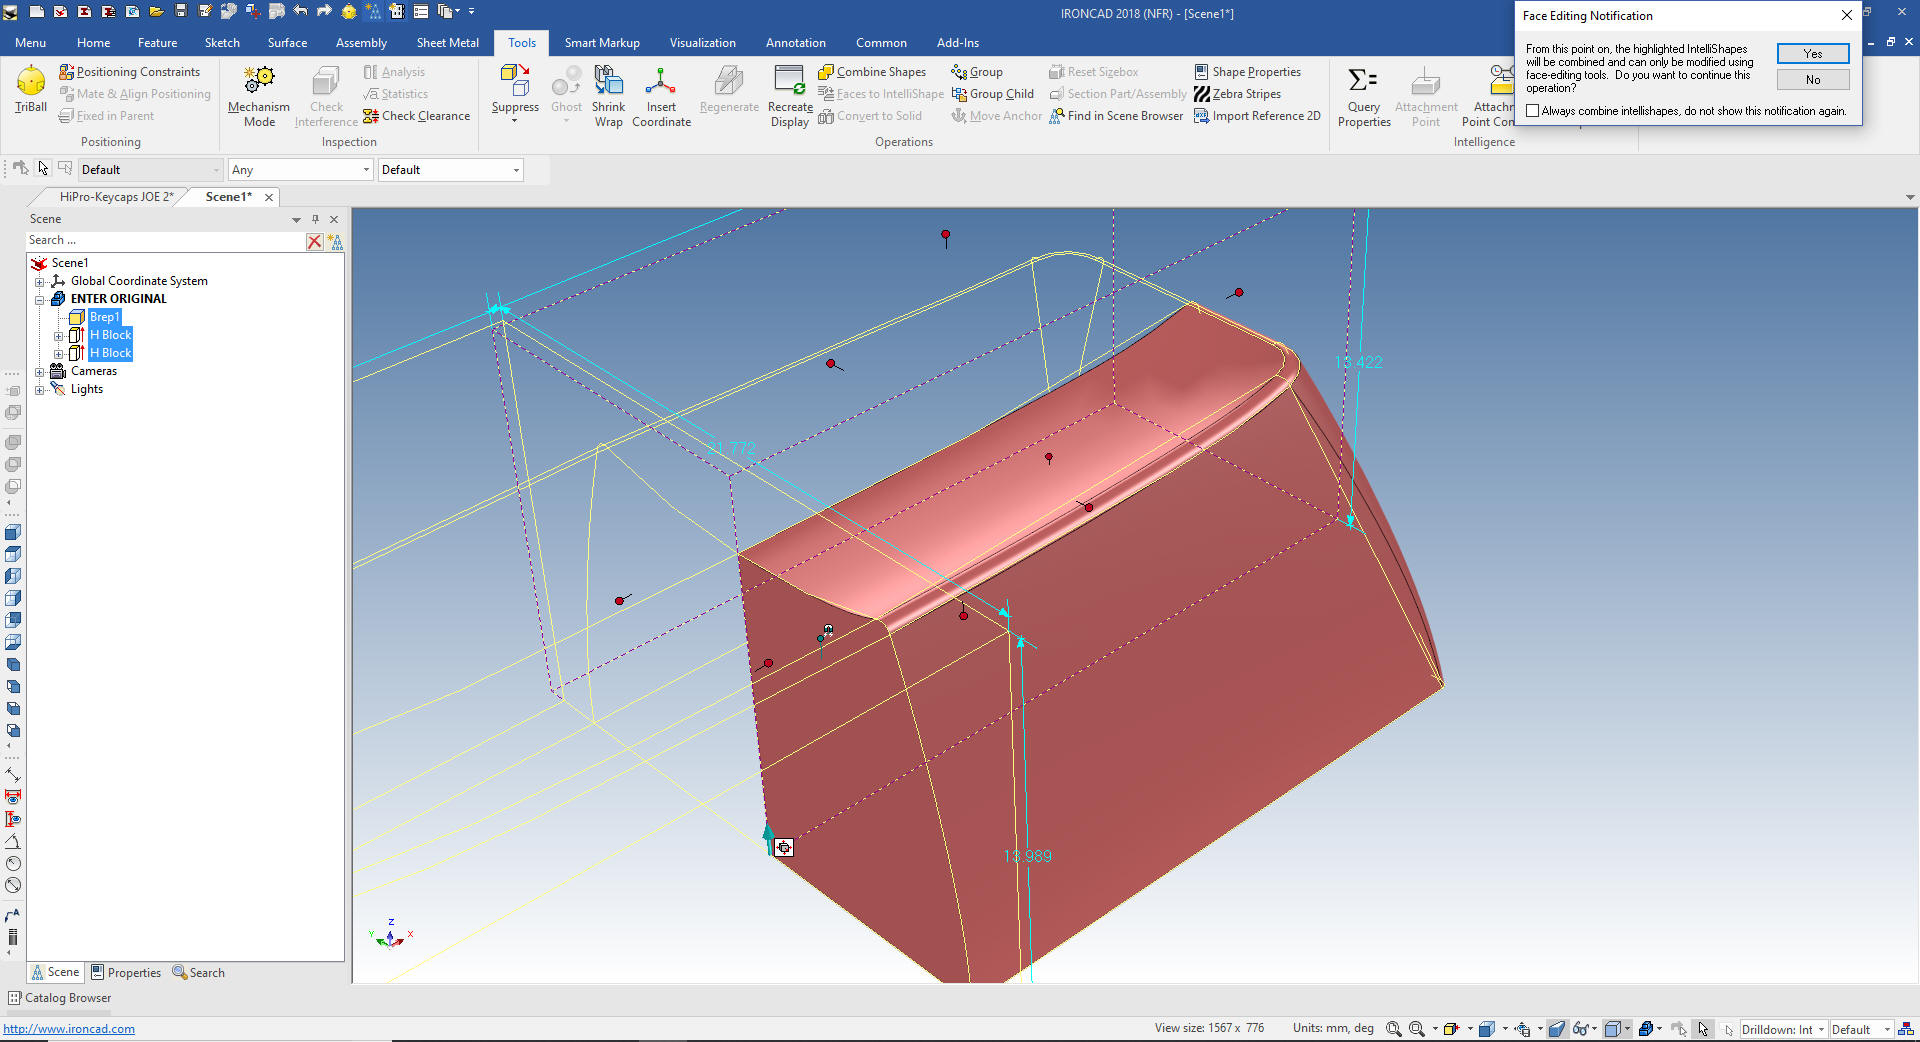
You
can see we have one brep to work with.
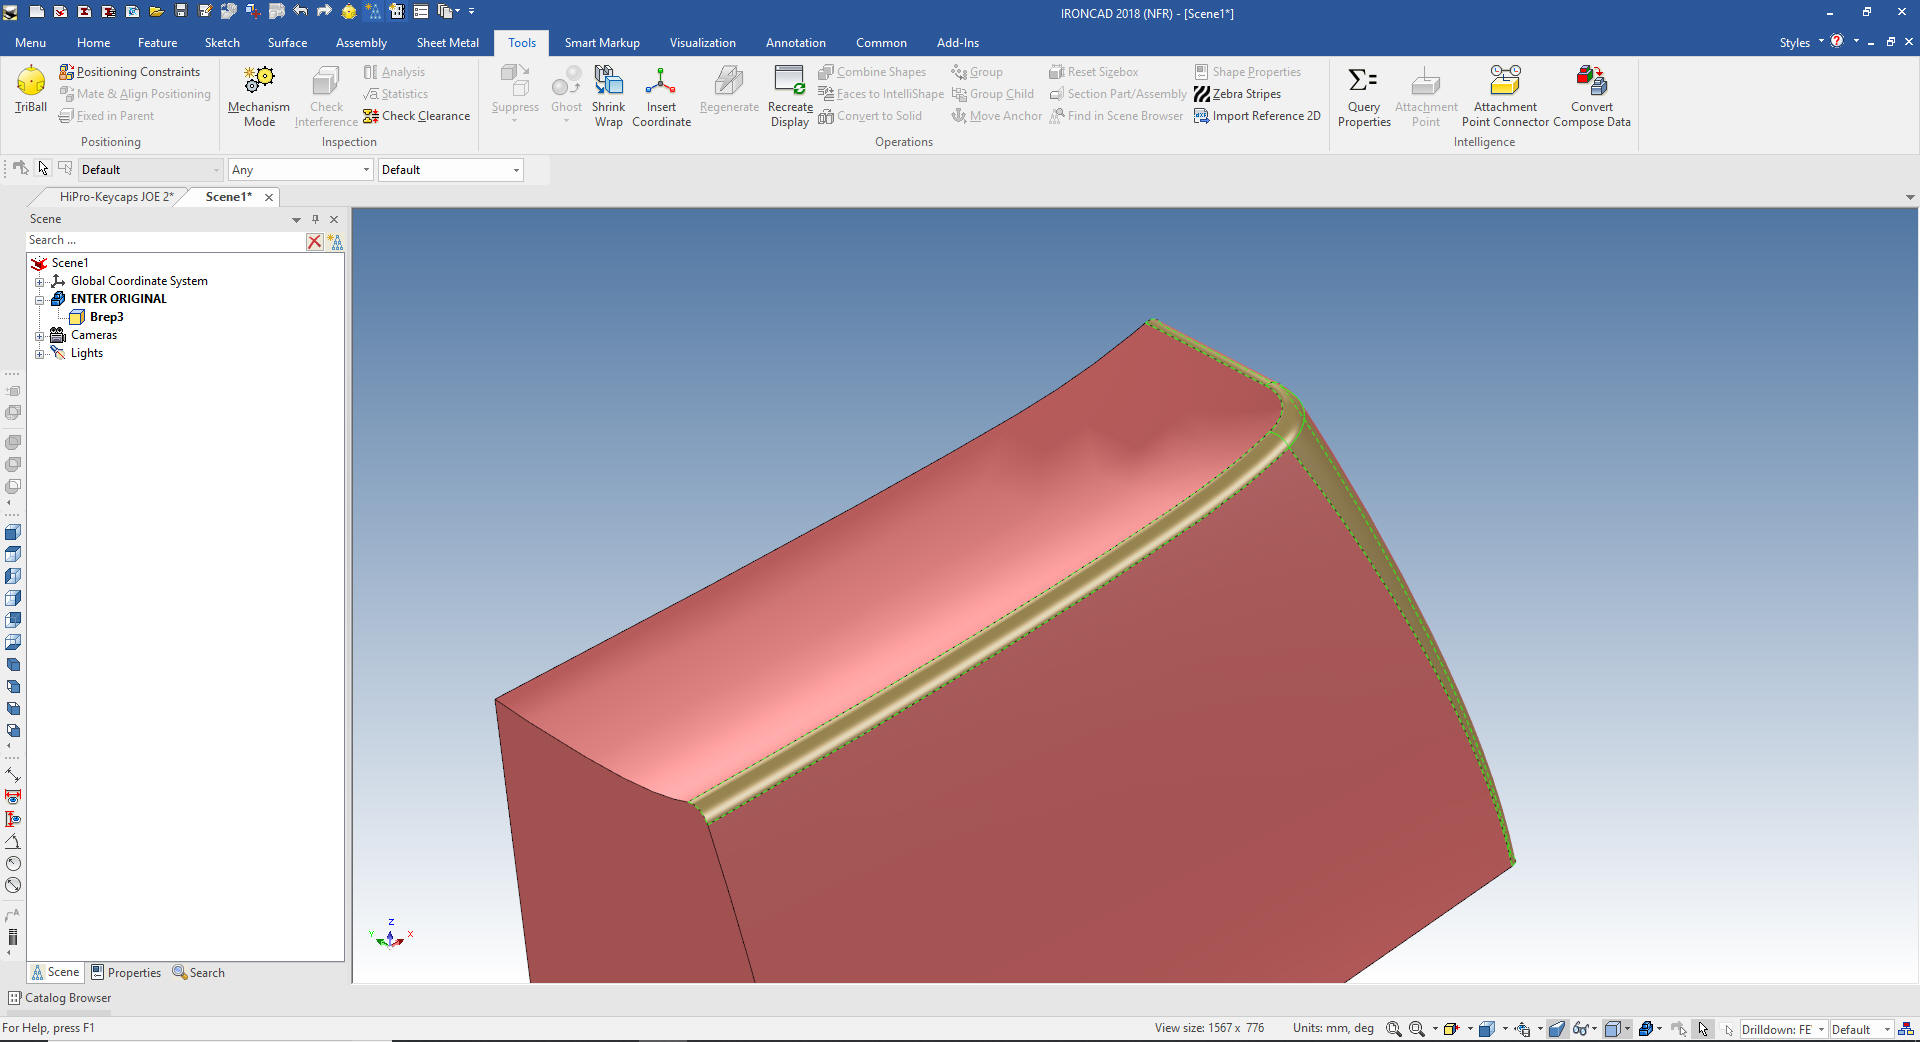
And
this time it was a success. This was a particular stubborn blend, probably
had something to do with the variable blend.
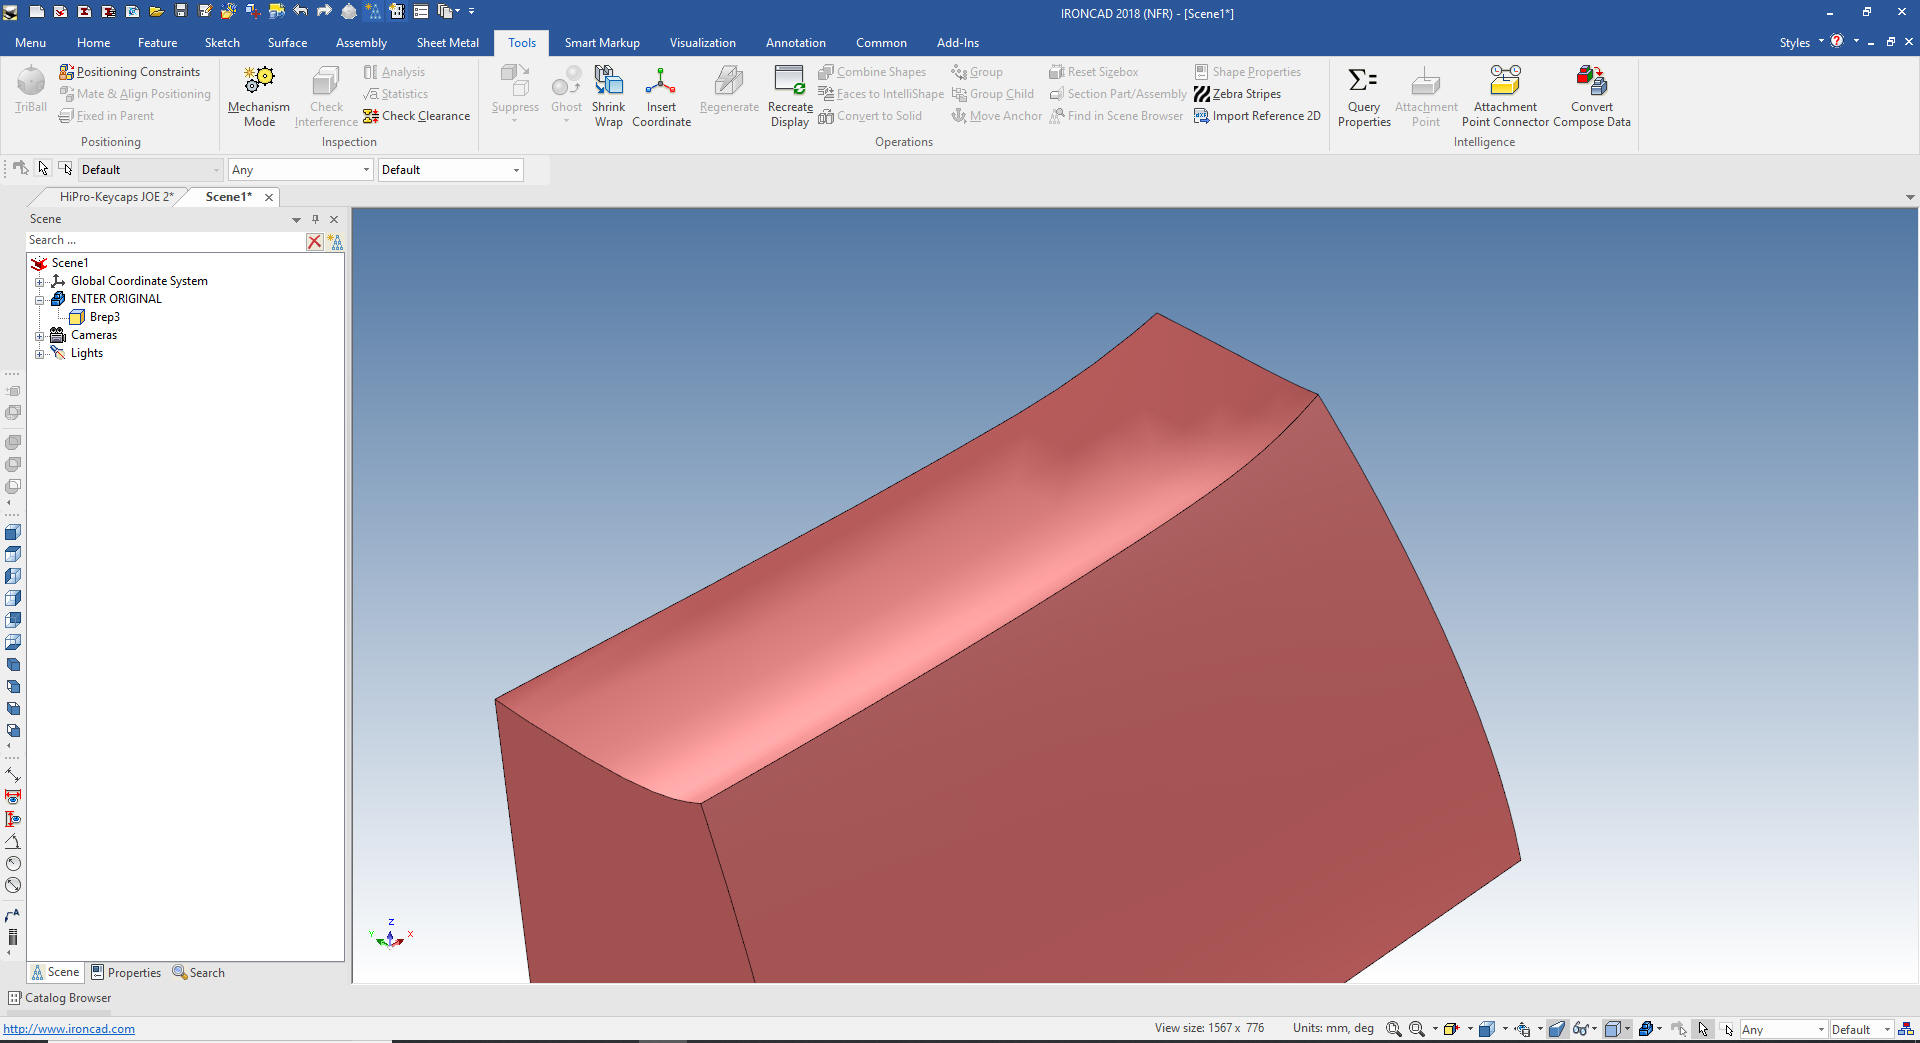
Now we
want to get our part back to the original shape so, using the
triball, we mirror copy. You can see we have 3 new shapes. IronCAD is
a true single model environment and can have shapes, parts and assemblies
coexist in a single file.
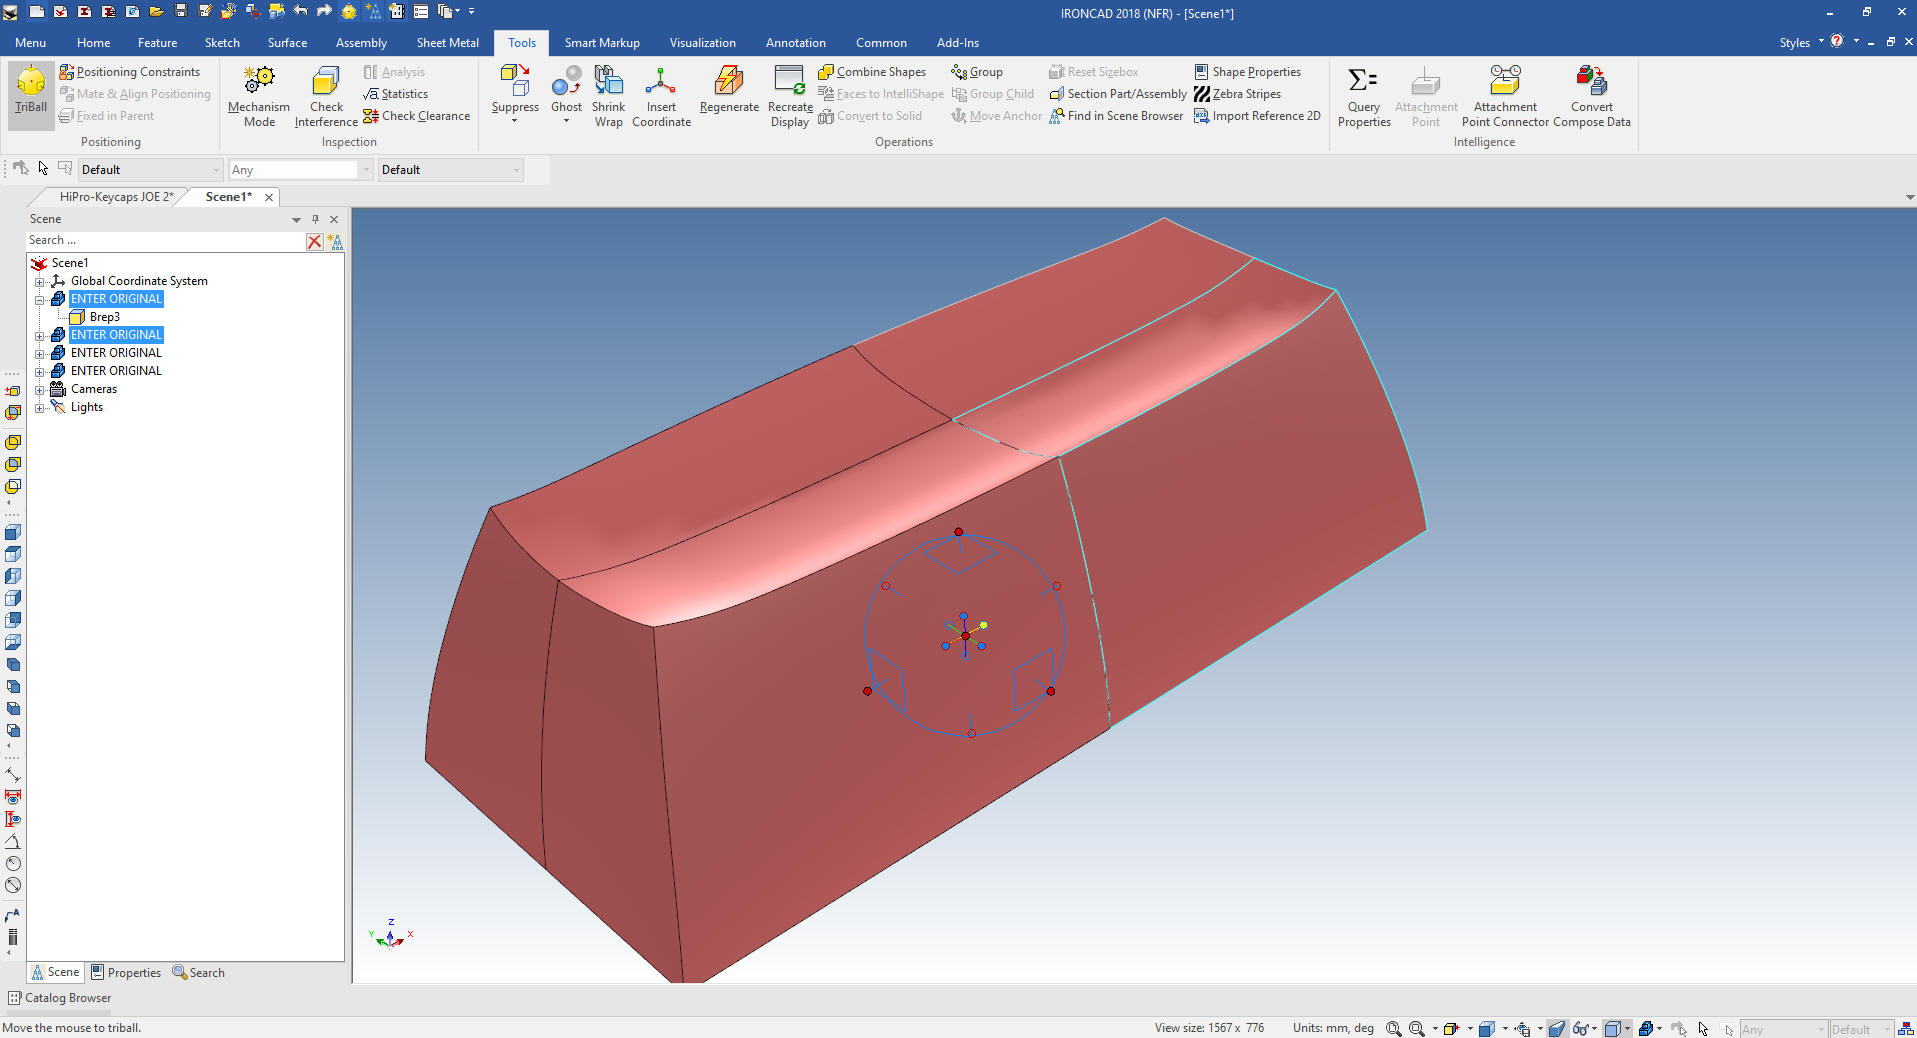
We
will now Boolean join the shapes in to one shape and combine all
of the features into one brep. IronCAD has different levels of
operation, assembly is yellow, part is blue, feature is yellow and
face is green. You can see this is now a single part not only by the
single part in the scene browser but the edges of the part are blue.
This makes modifying faces, shapes, parts and assemblies much
easier. Very, clever these IronCAD folks.
Note: IronCAD calls the work space the "Scene". IronCAD was
released as the graphics design program, Trispectives, in 1995. And
has much of the basic graphic design features such as integrated
realistic rendering, animation and more. It offers much more of a
flexible design package as compared to the mechanically only focused Solidworks clones.
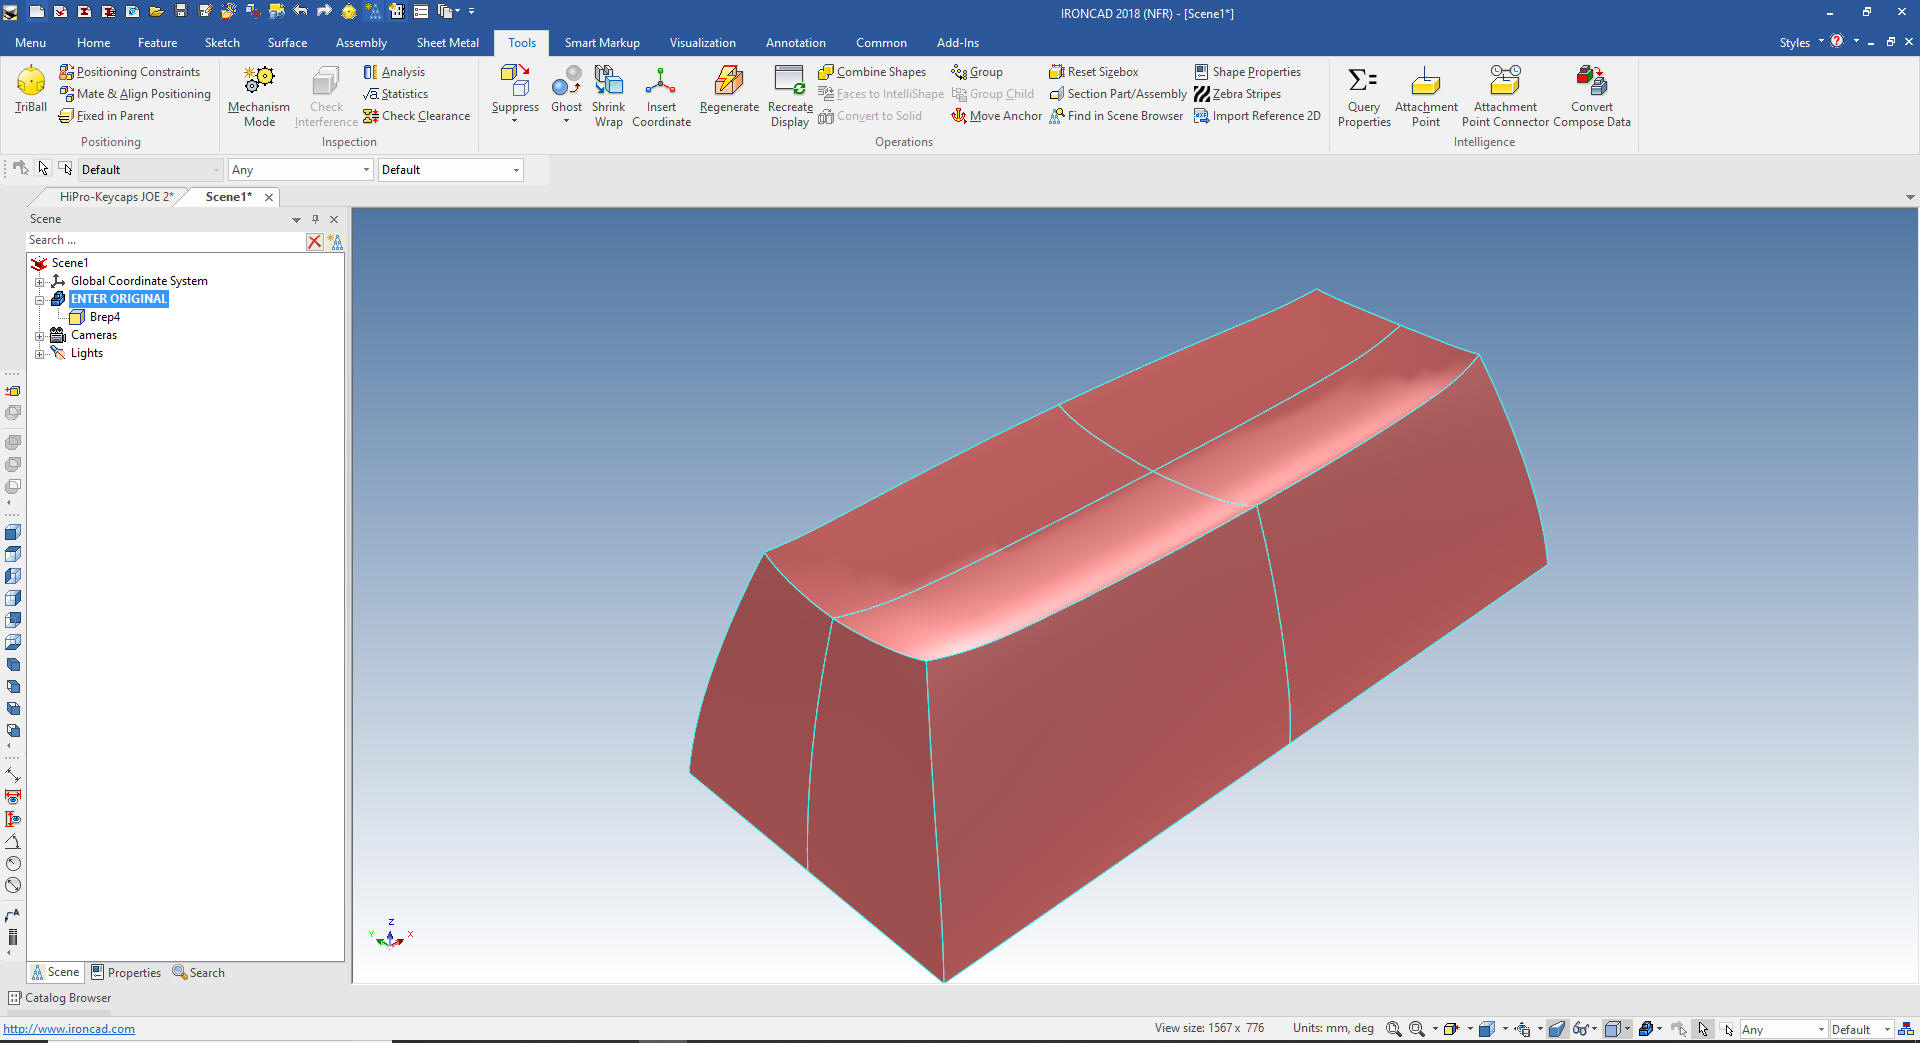
To get
ready for the new surface we
first have to create the sketch to establish the new depth of the
surface. We will create a standalone sketch on the bottom face and
use the triball to reorient it. We do this at this stage to use the
existing face as a reference.
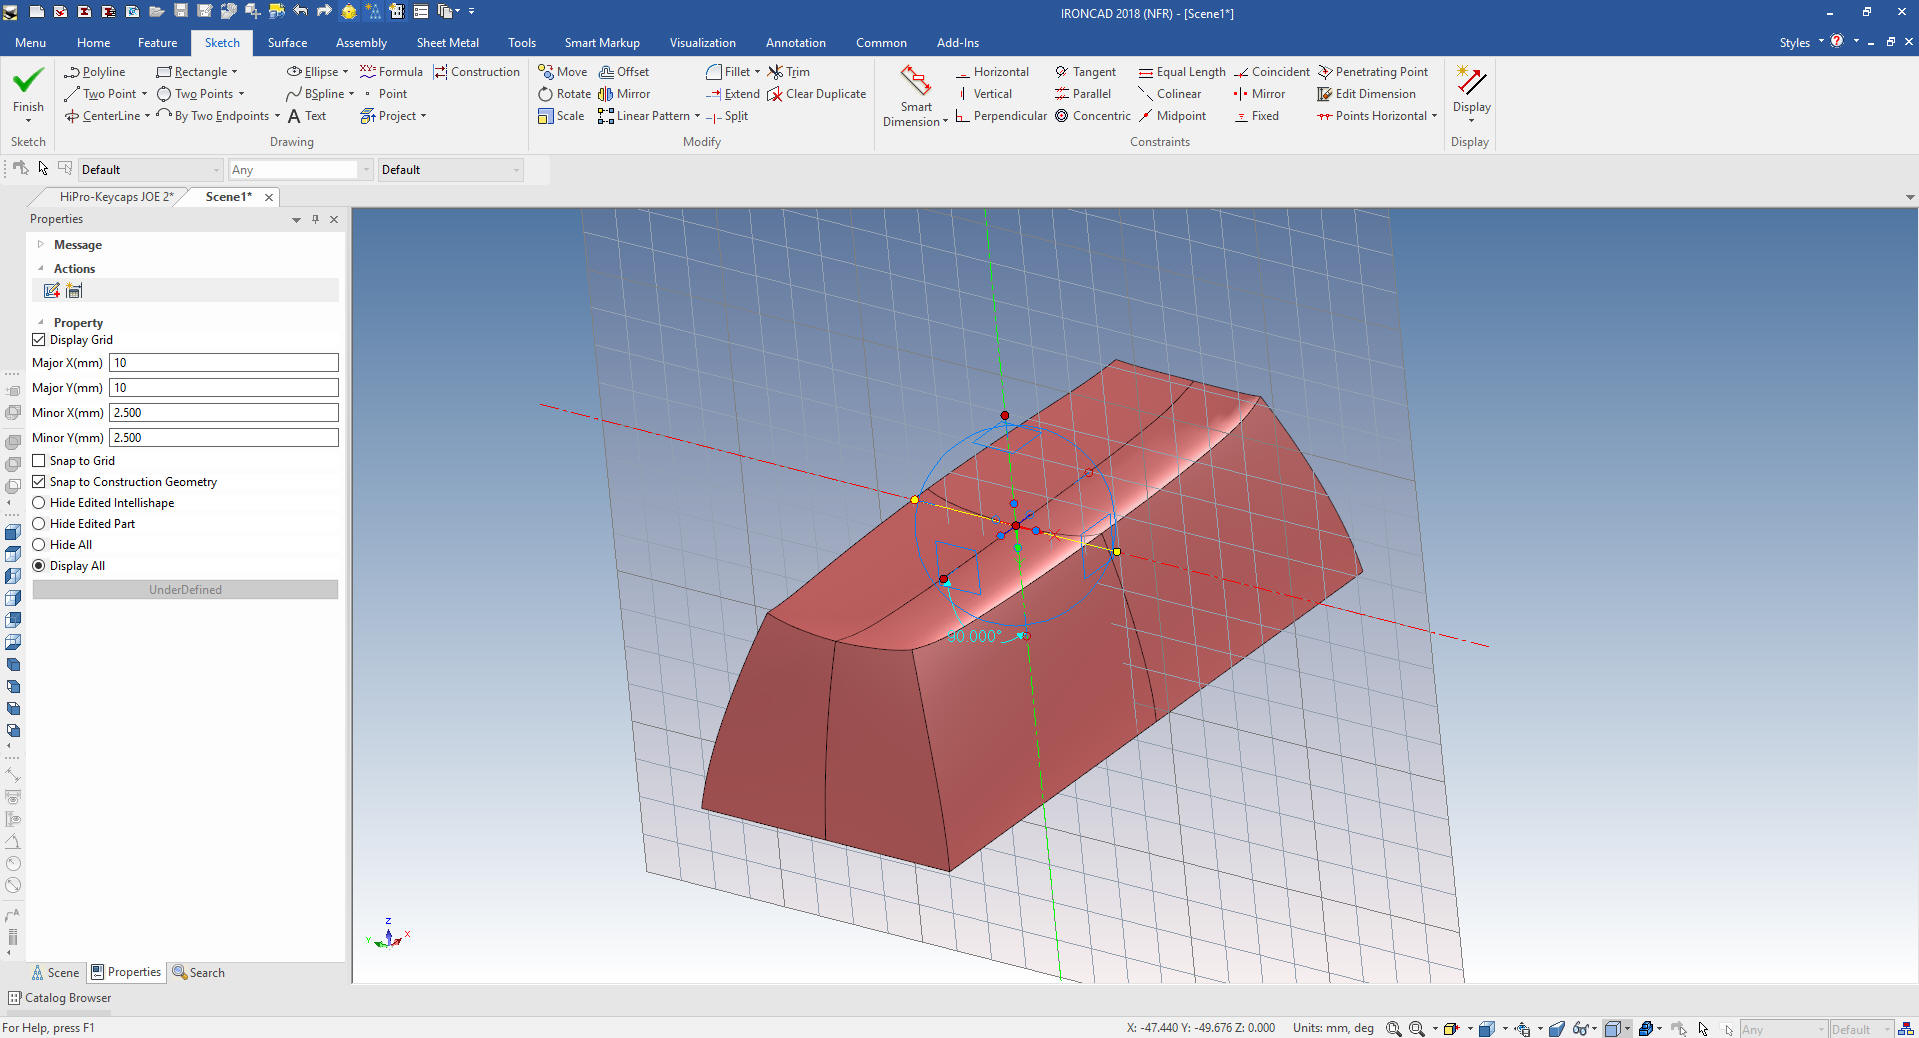
We
project the top edge and use it to create an arbitrary 1 mm
vertical line then create the 3 point arc that will establish our
new basis for the top face. This exercise was just to show my
IronCAD customer how to modify the parts.
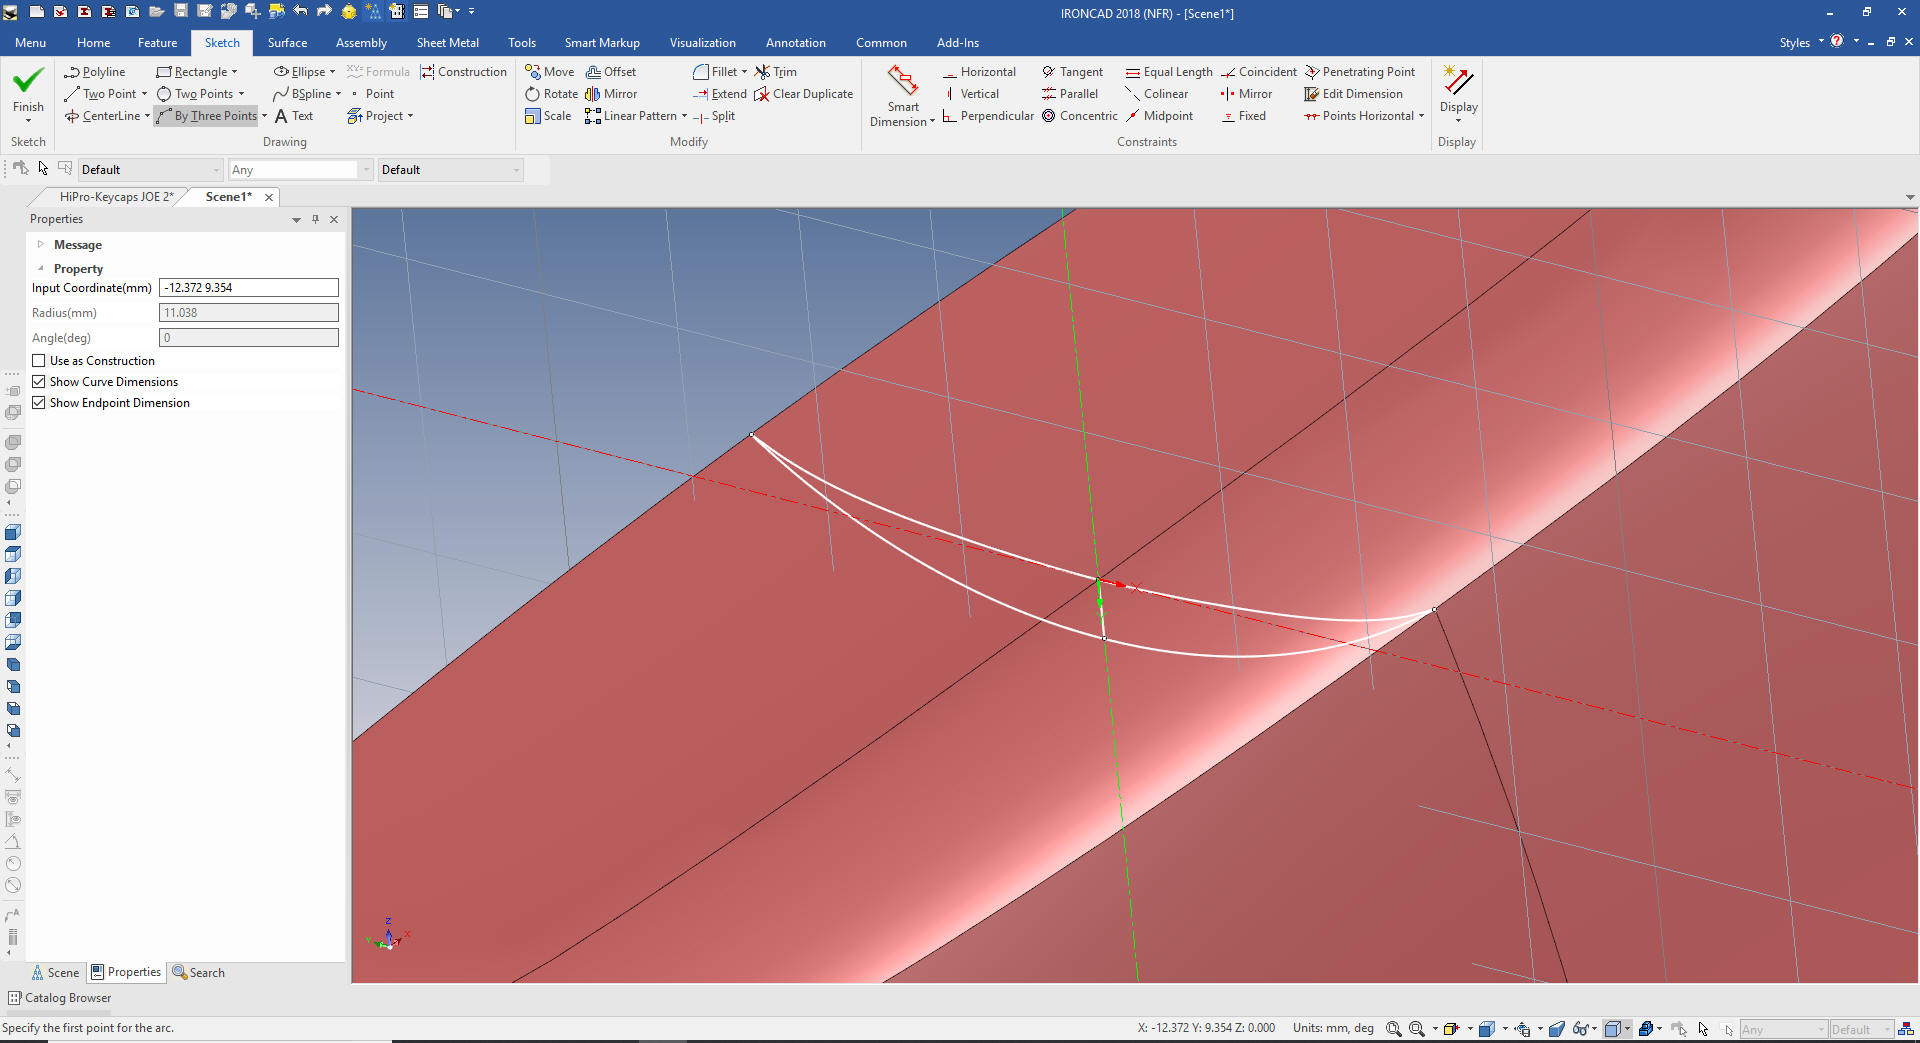
We can
now delete the existing surface. You can see we have selected
"Generate as Surface" to only affect the selected faces. You can see on the left the part is now
made up of faces.
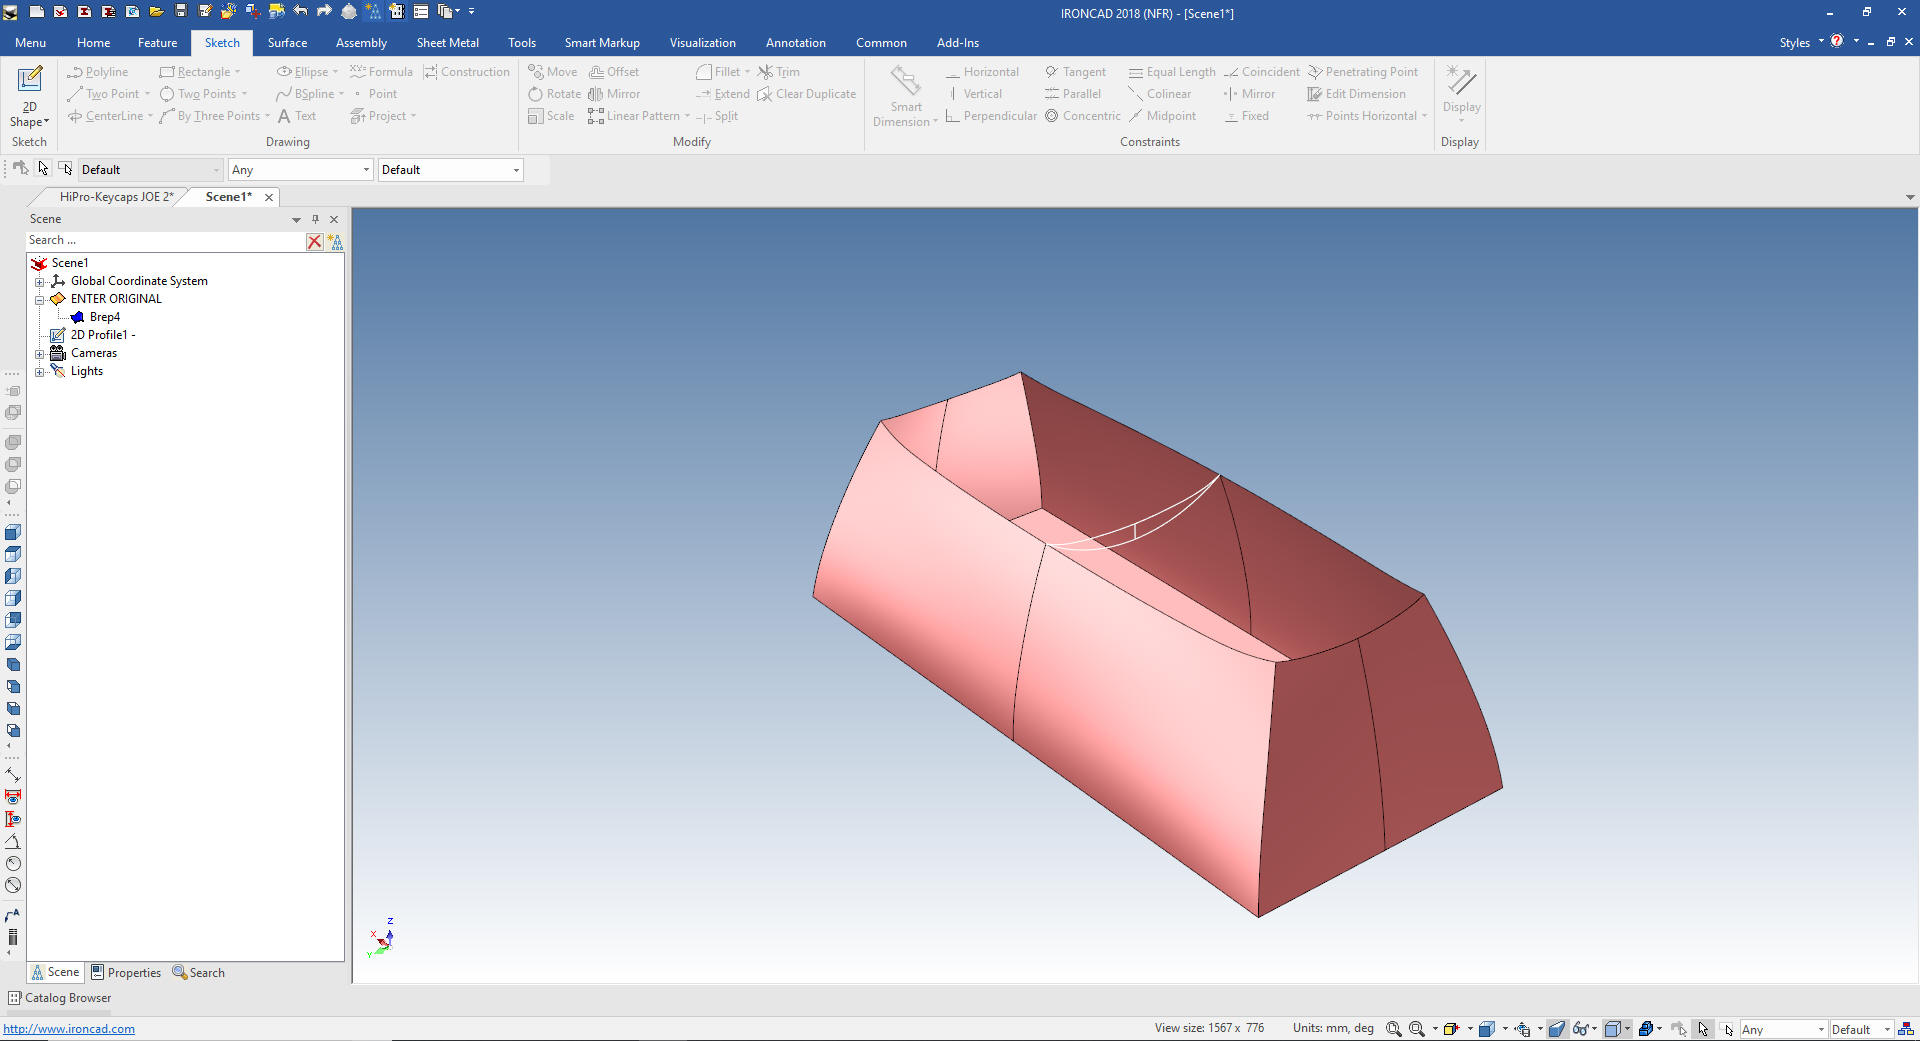
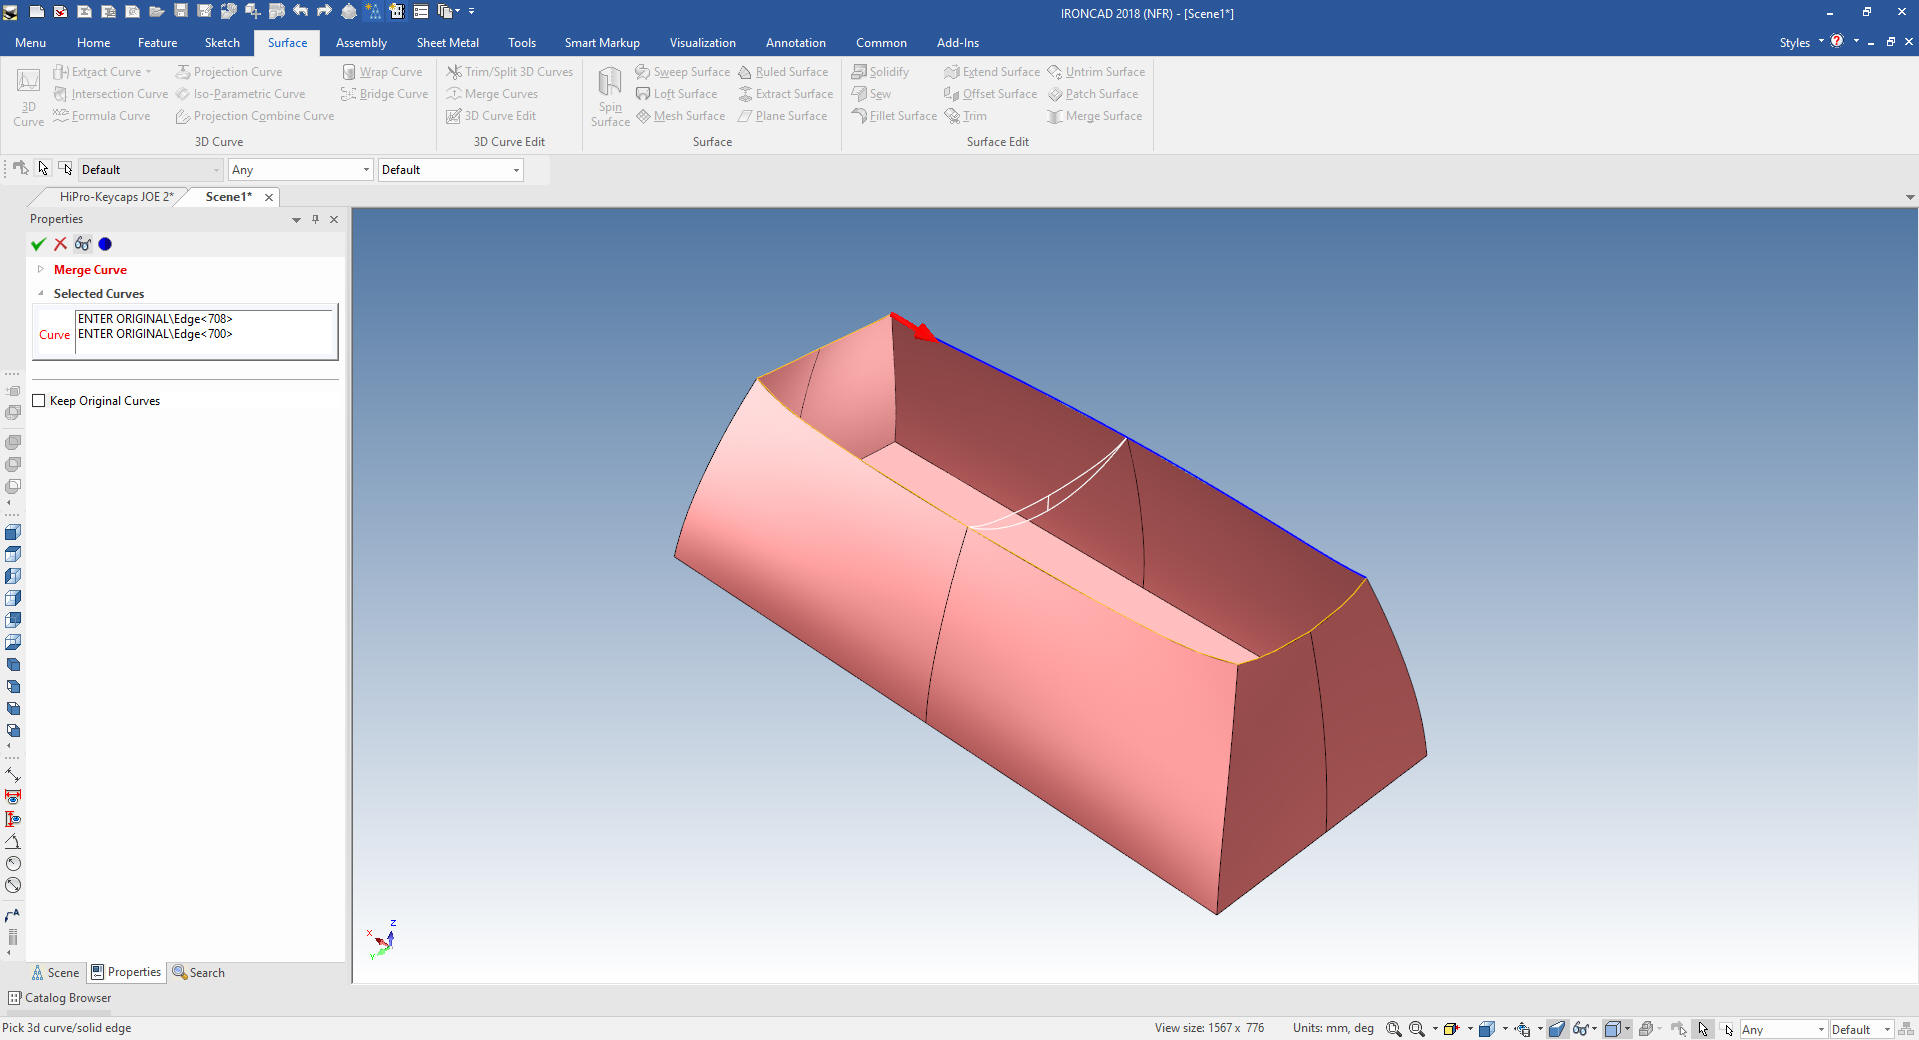
We
have to merge the four curves that will to used to make our new
surface.
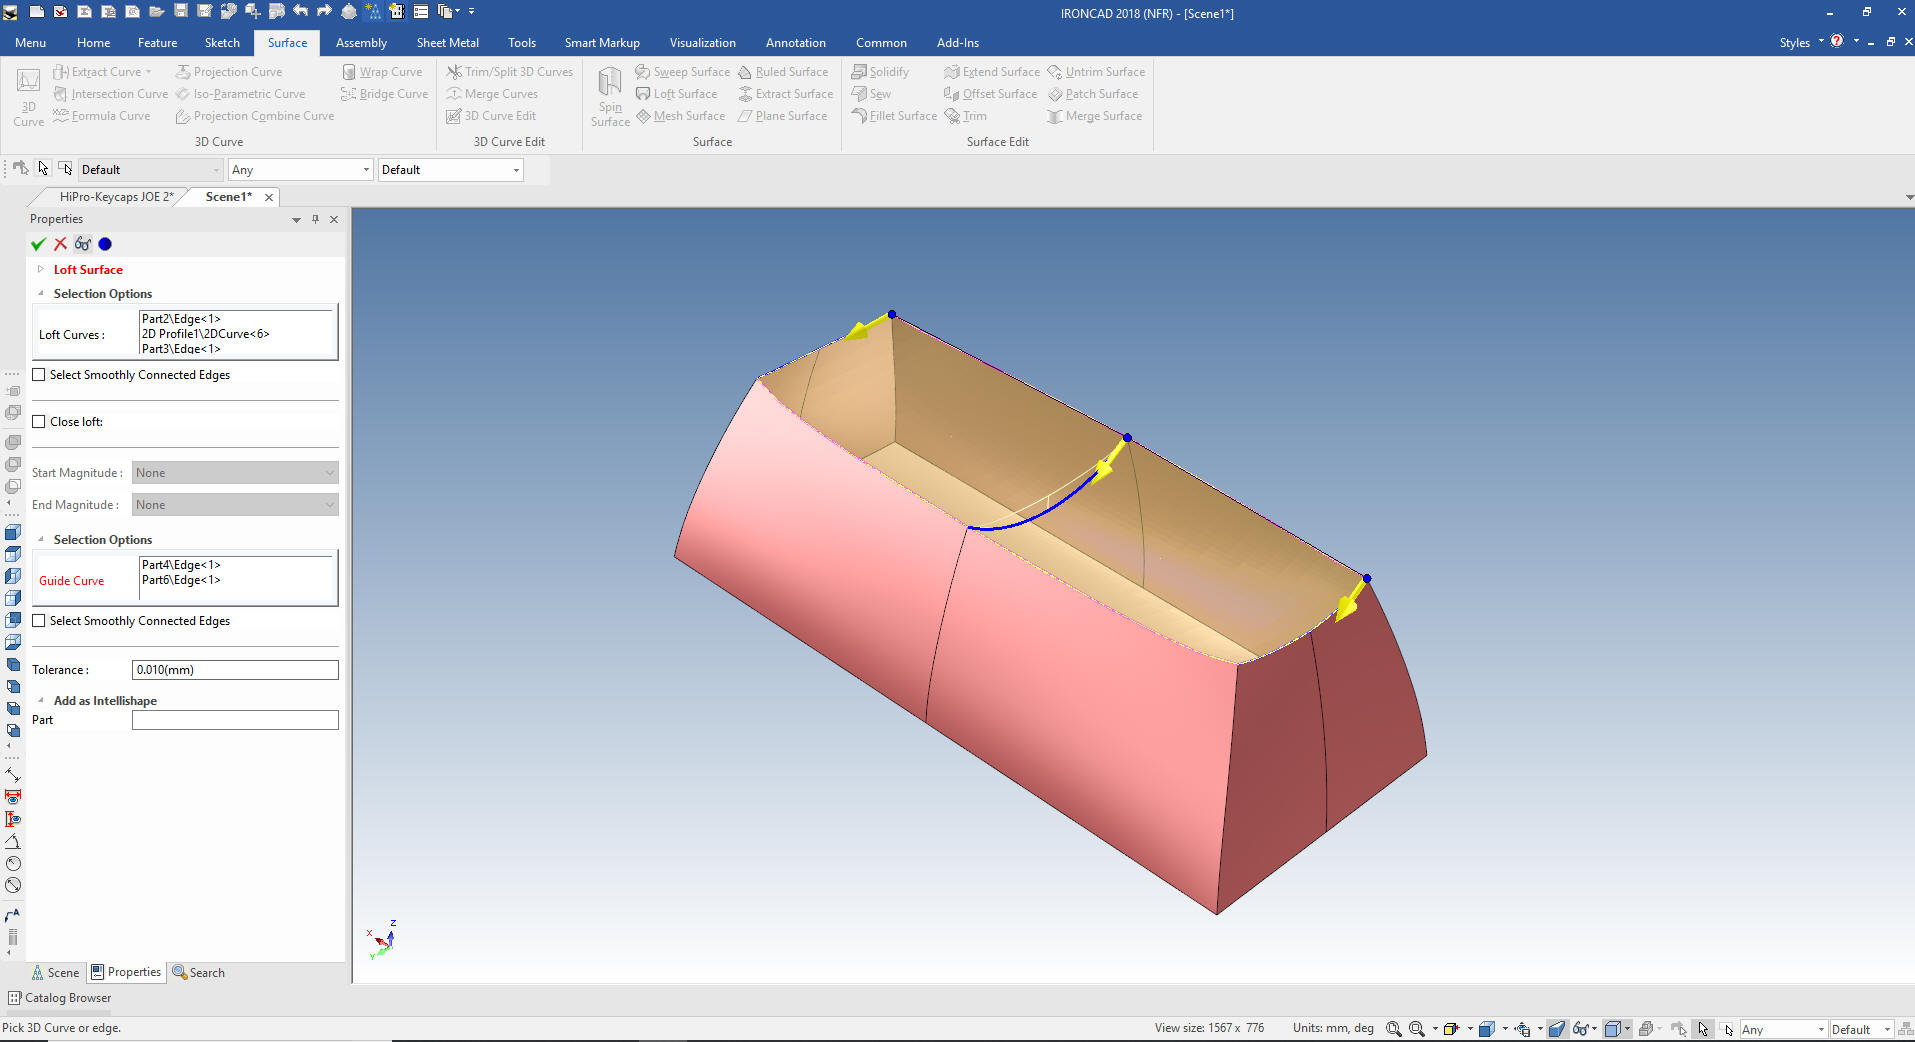
Now can create the new top surface using the loft surface command,
using three loft curves and two guide curves.
We select okay and we now have our new surface.
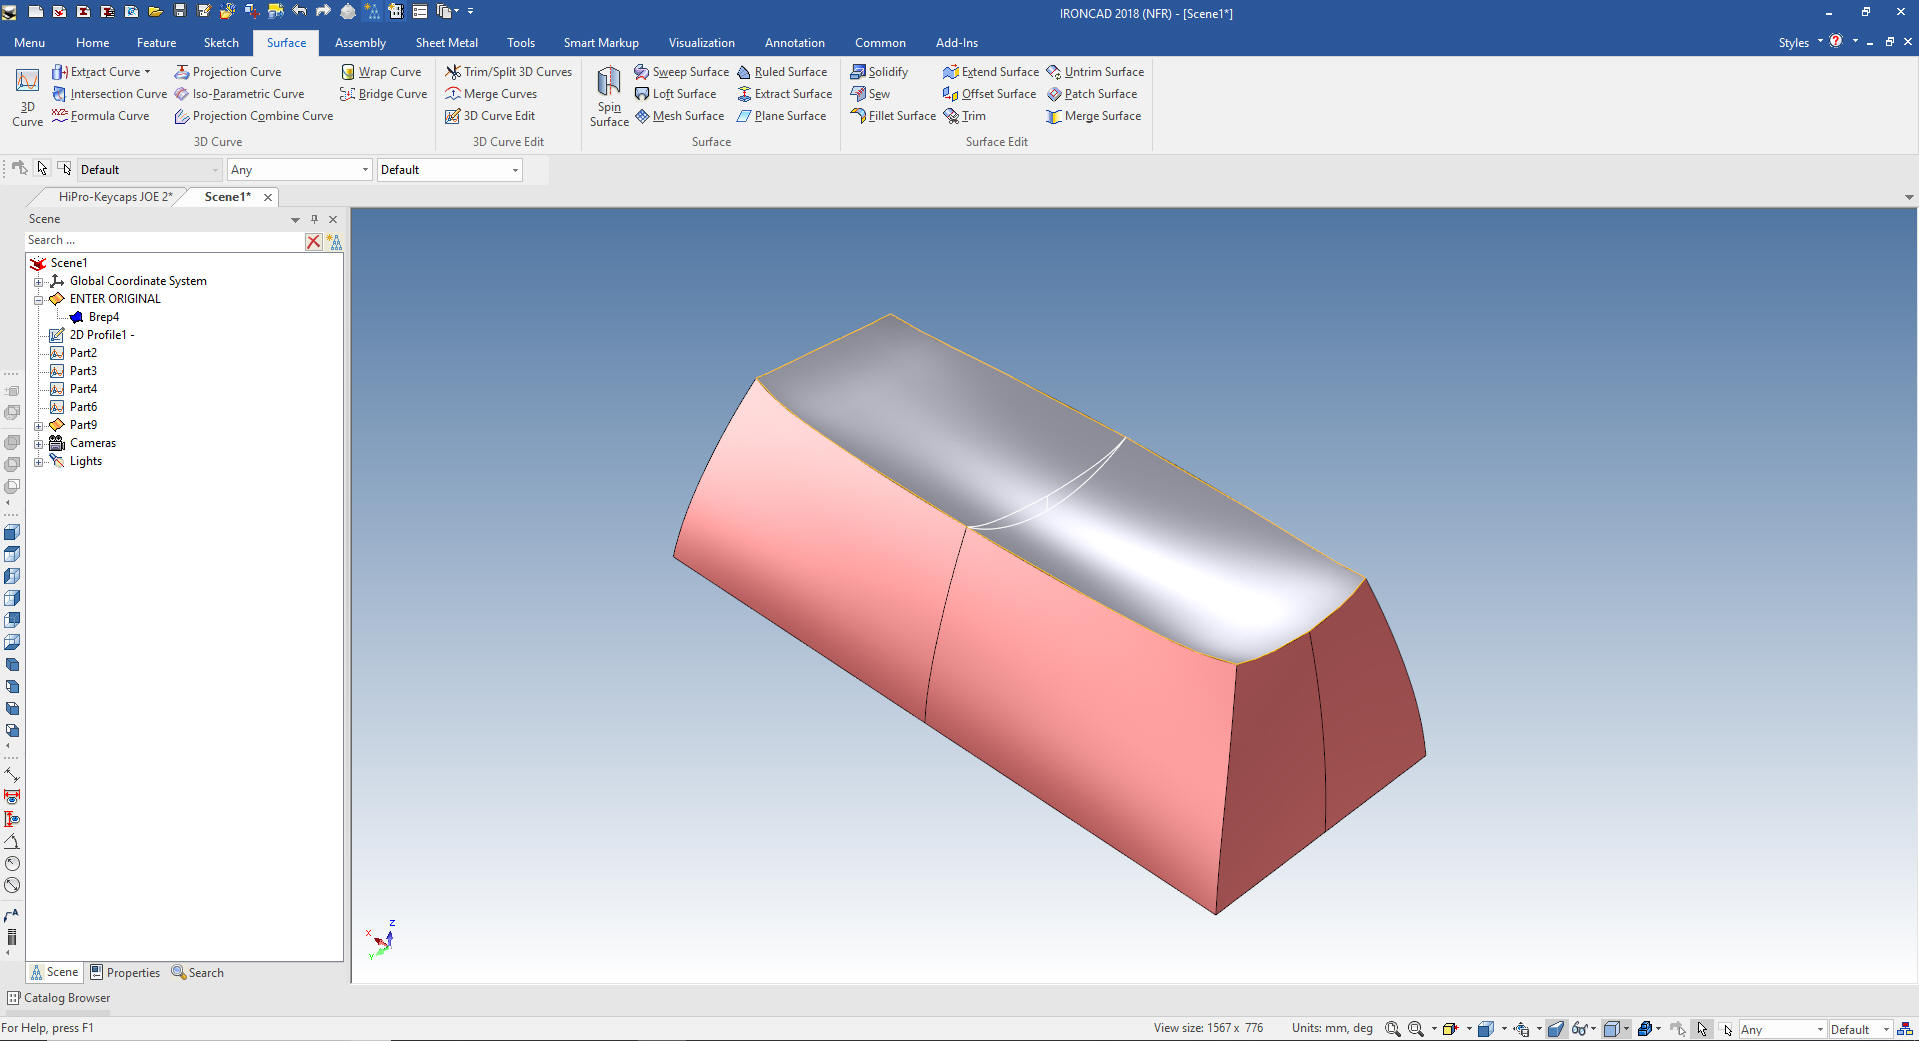
We now
have to solidify it to add the blends.
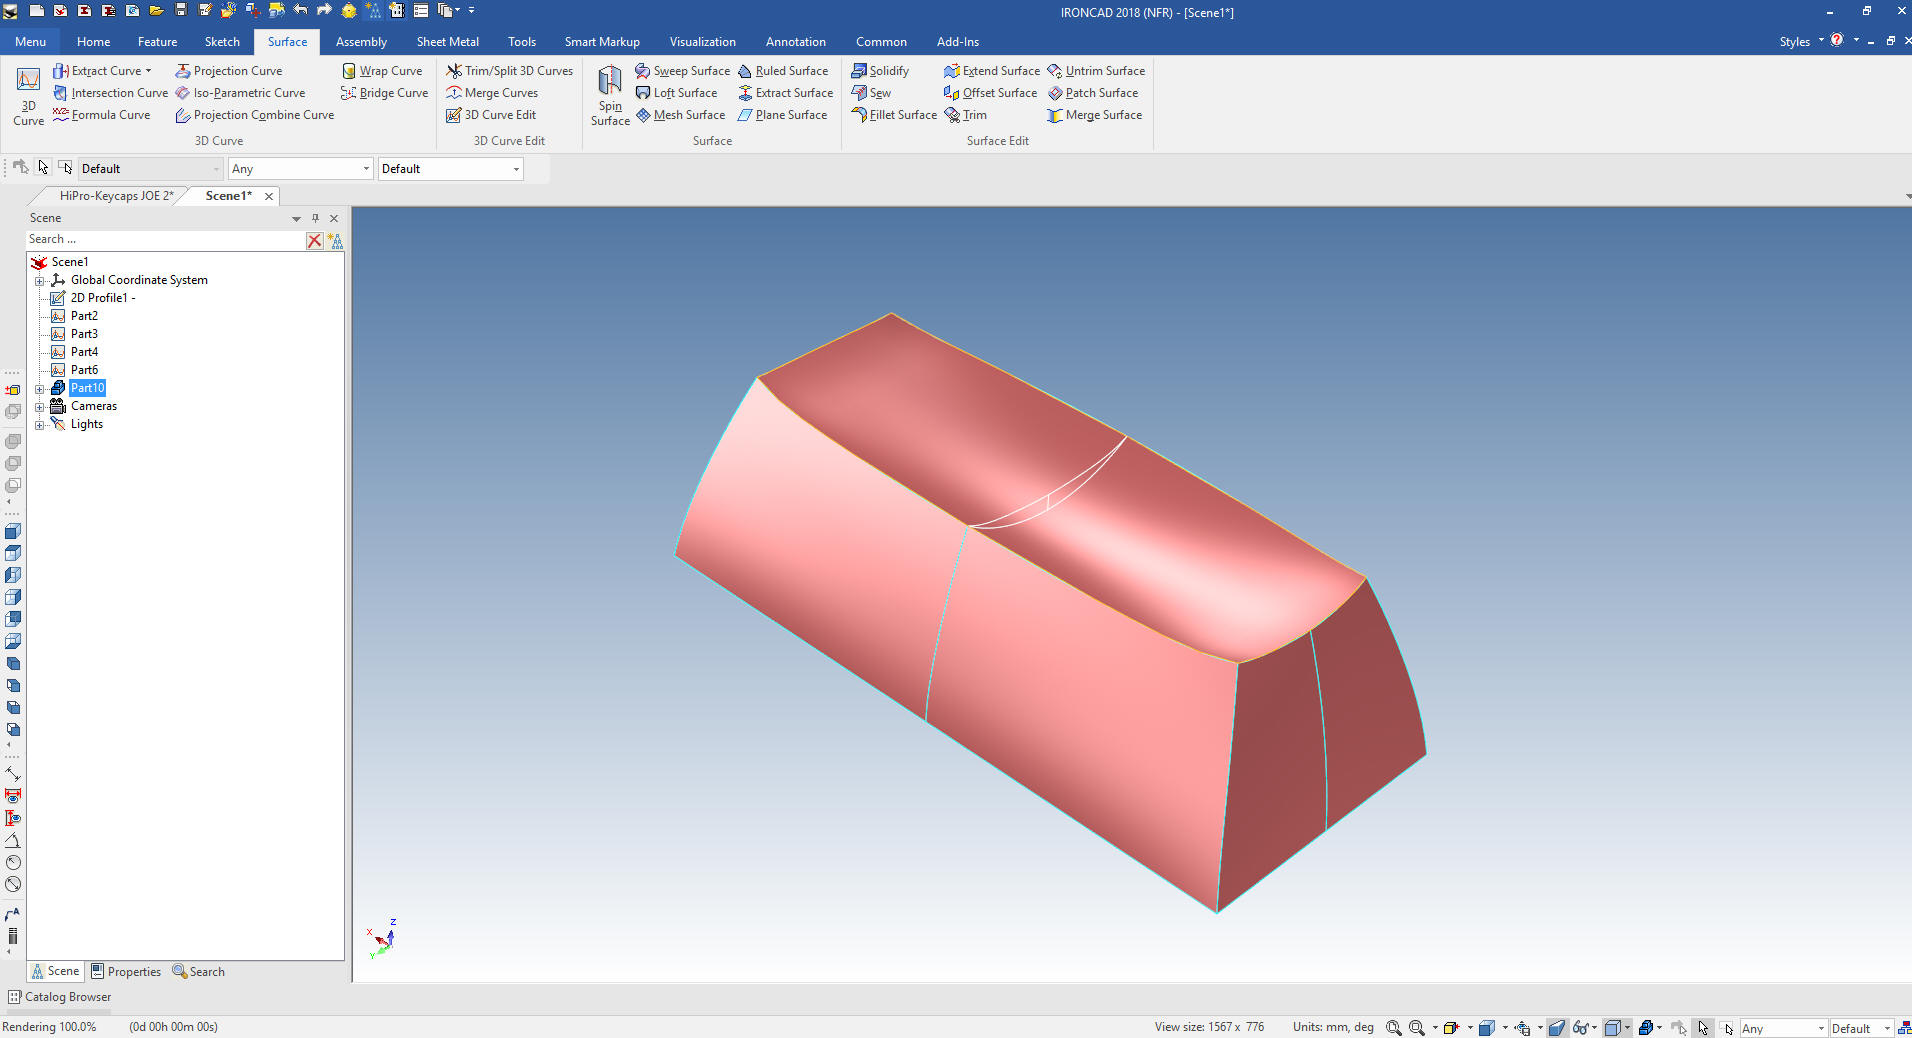
You
can see we now have a solid part. We will suppress the construction
entities and start with the variable blend. The base blend is .3 mm
and the top is 2 mm.
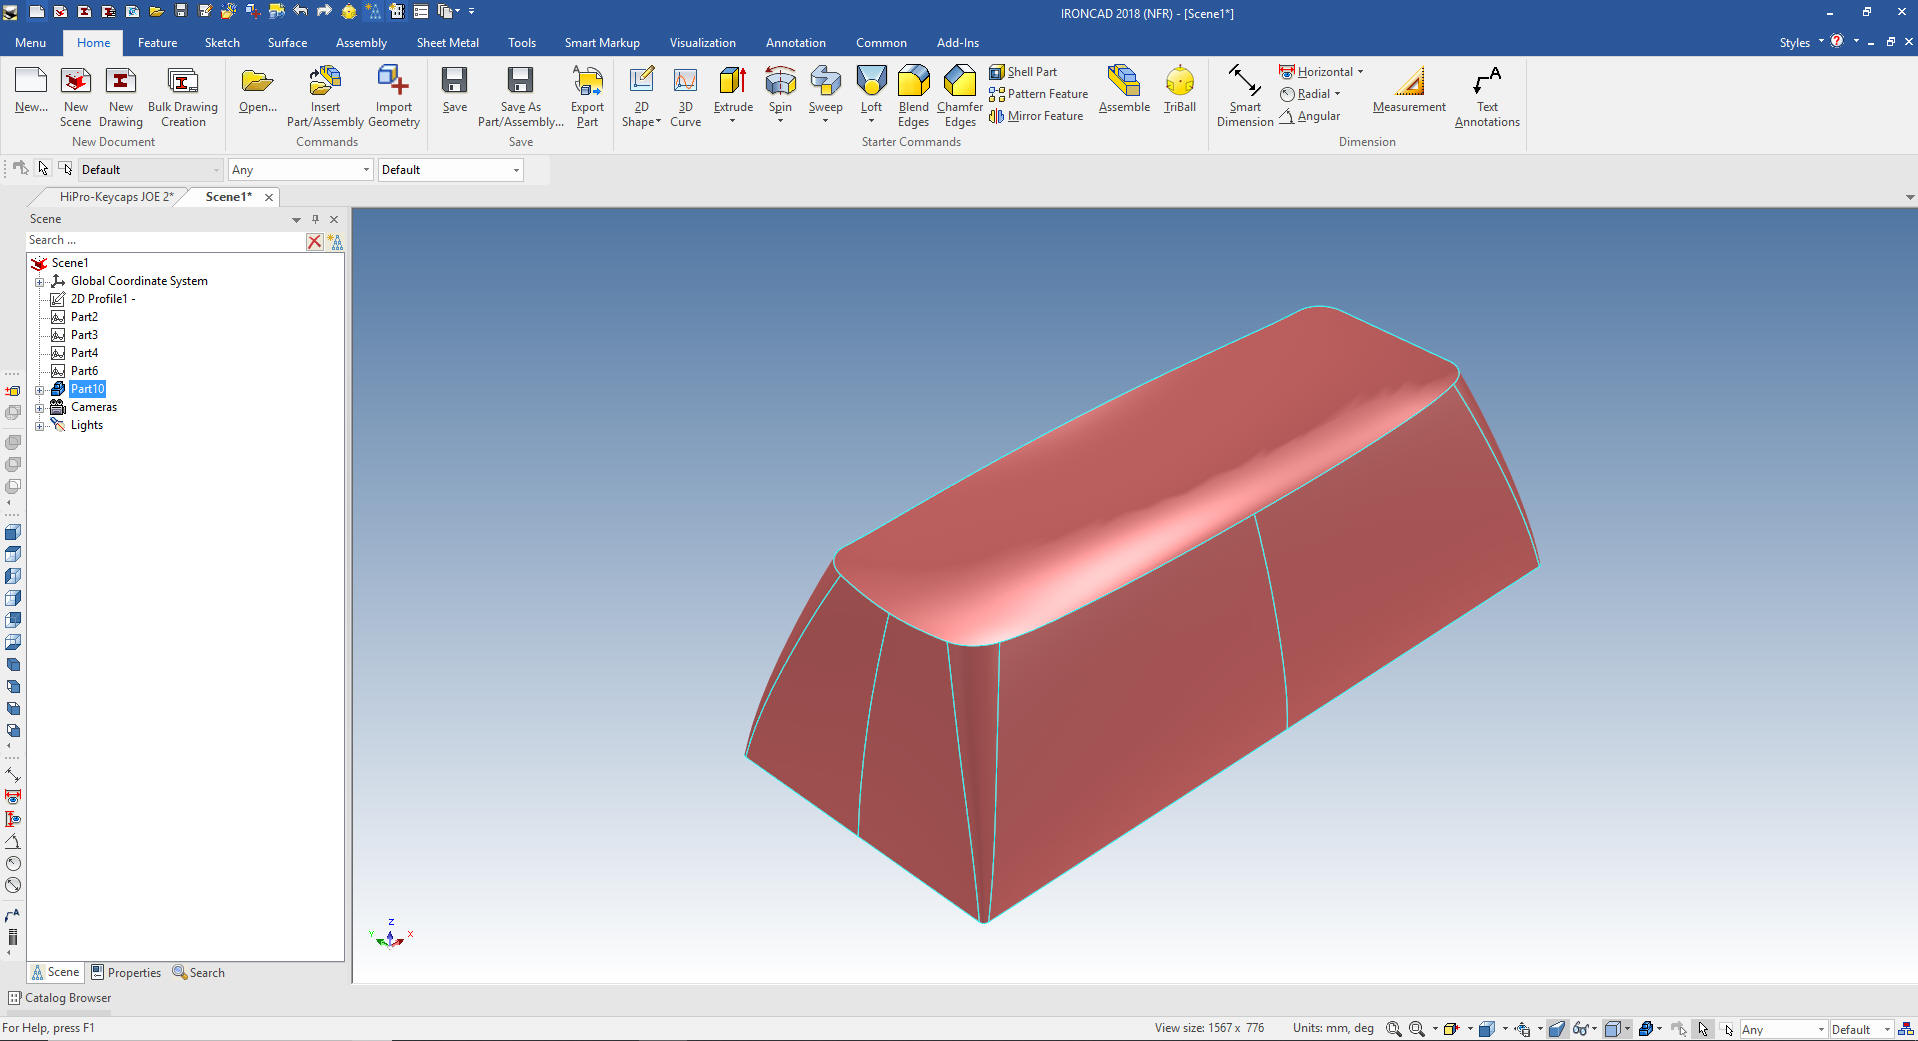
Now
for the top blend of .4.
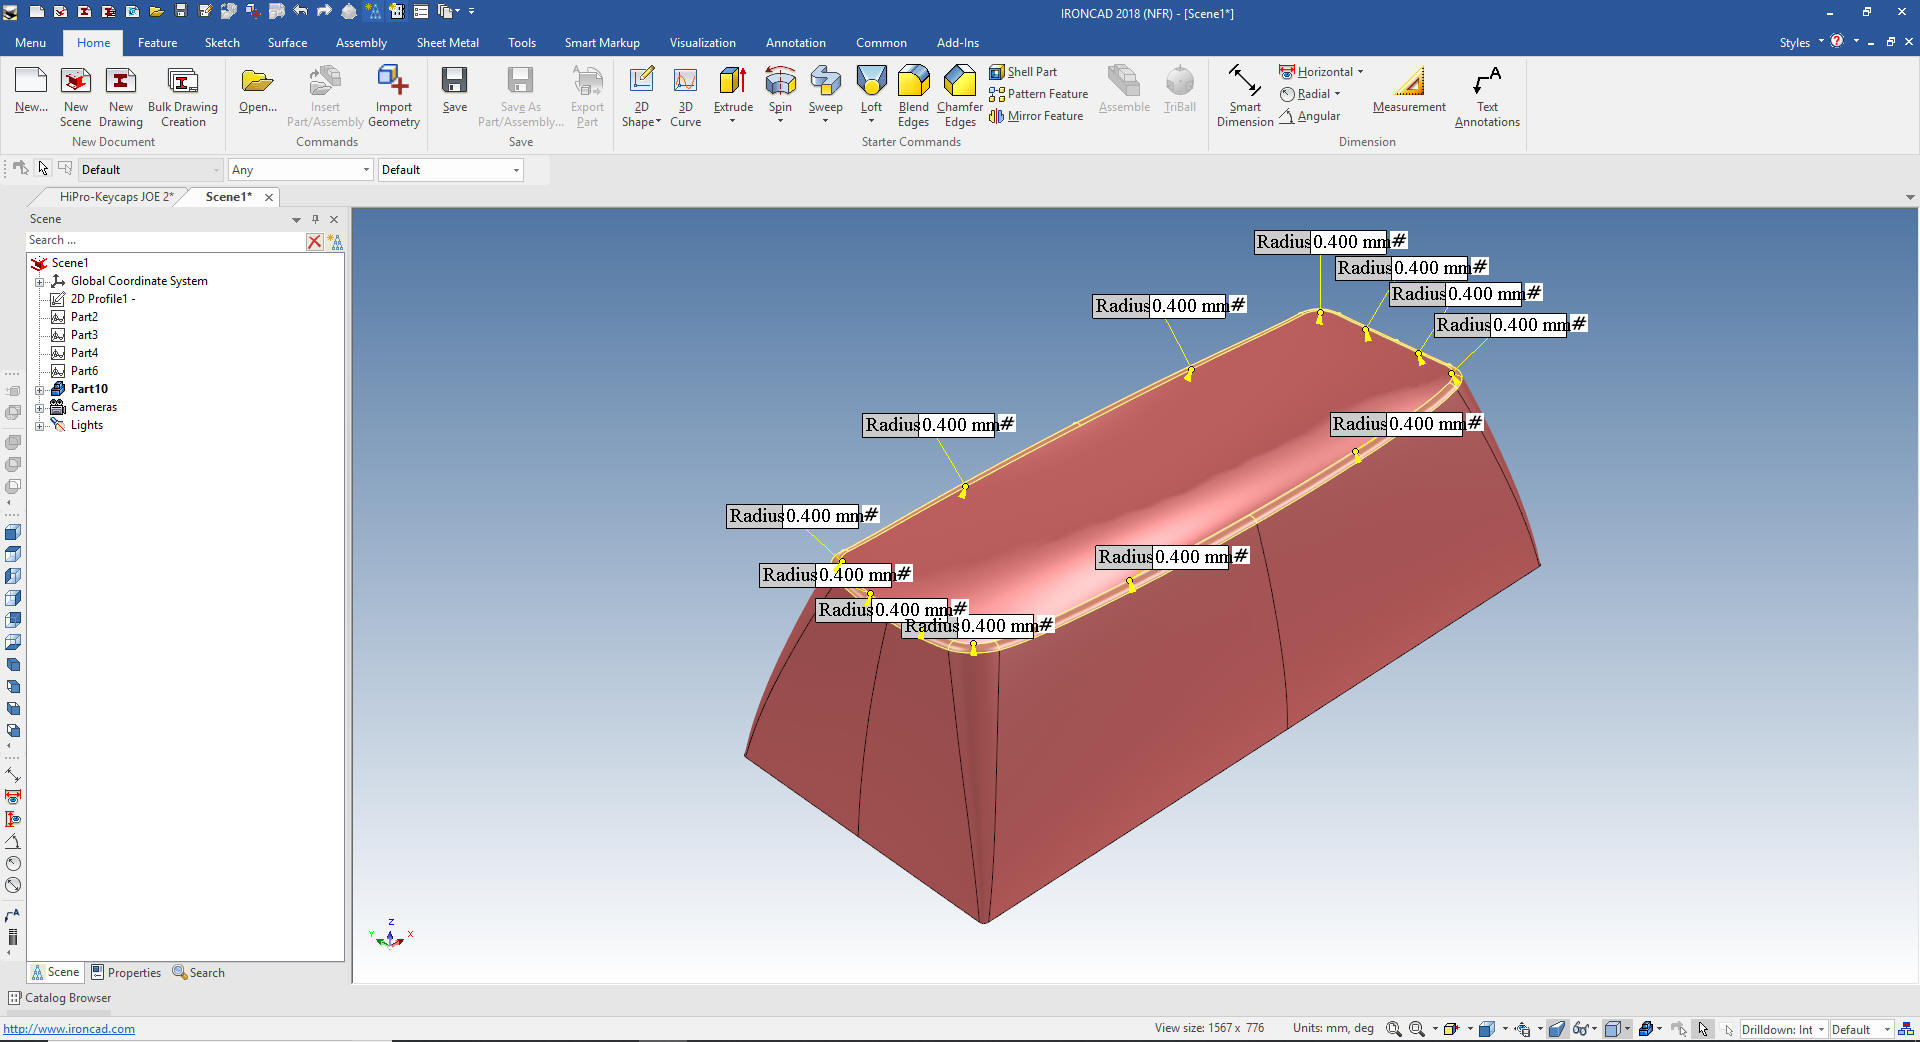
The
last step is to shell the part.
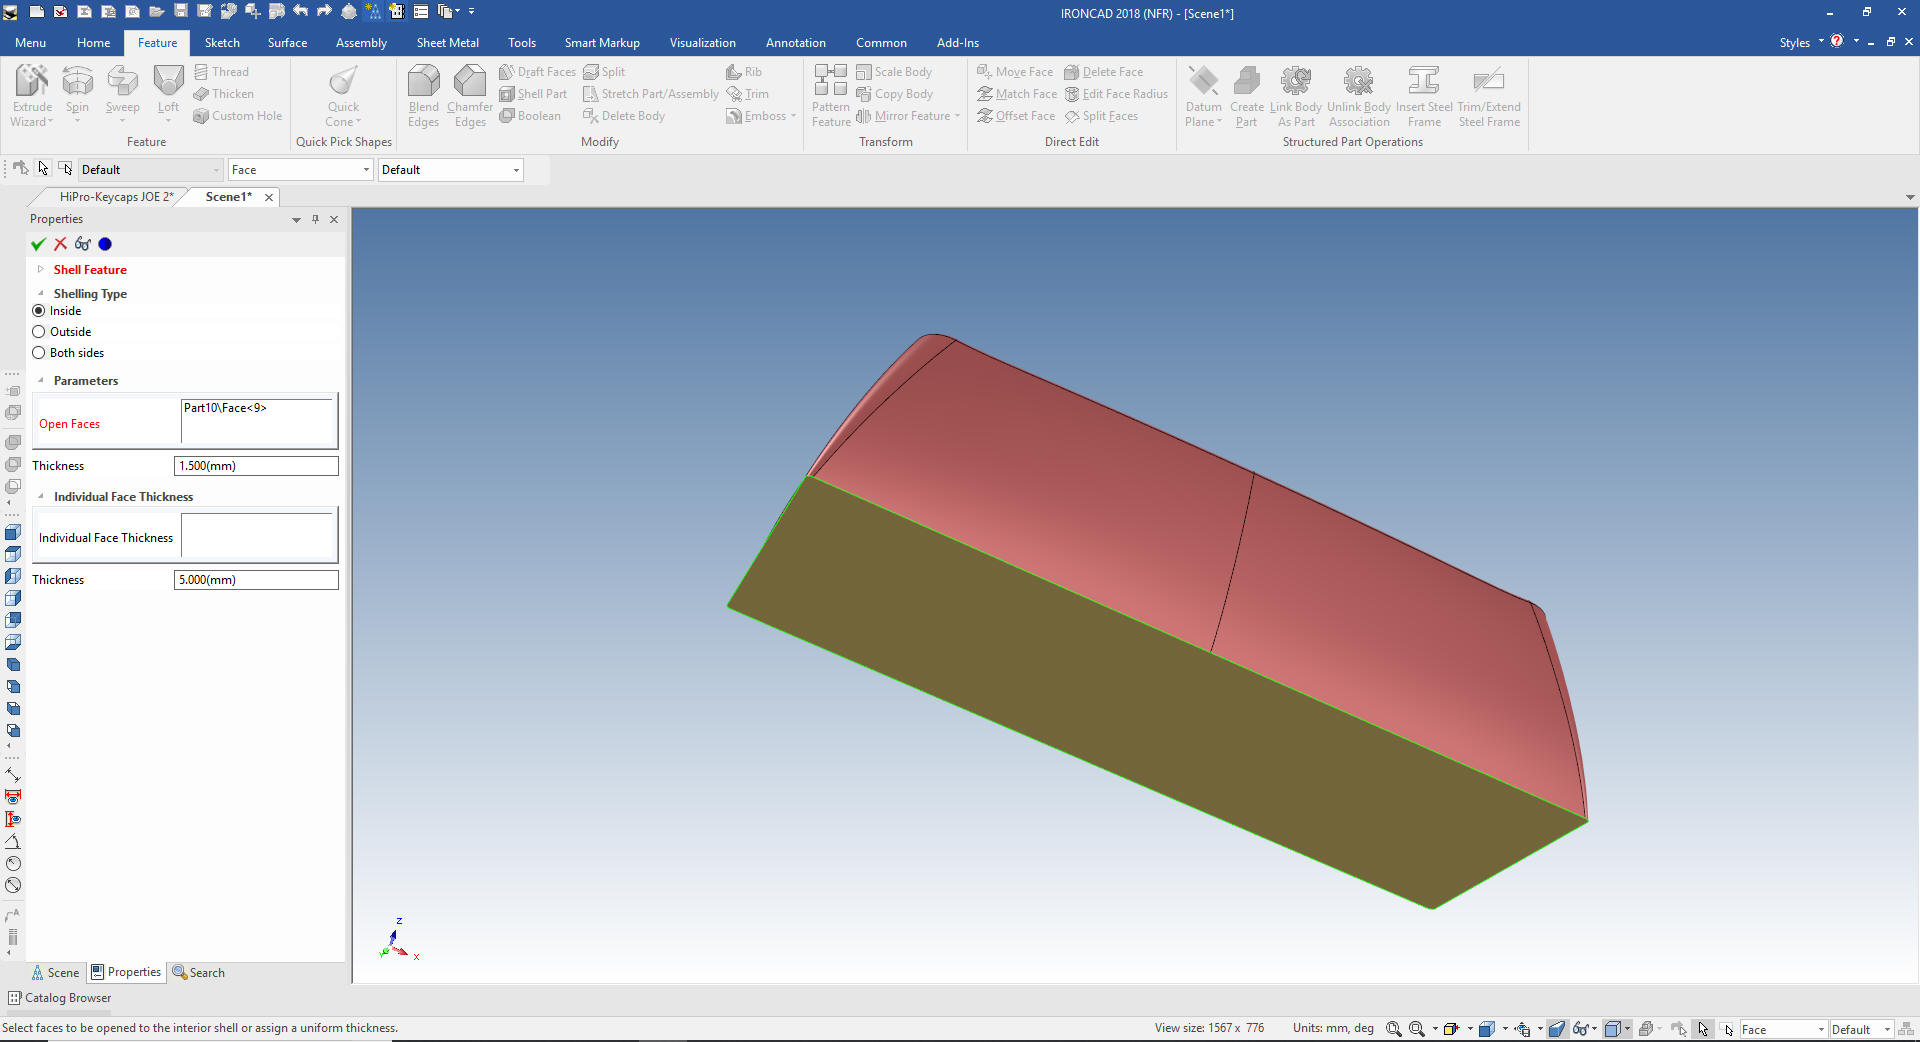
We
shell the part 1.5 mm
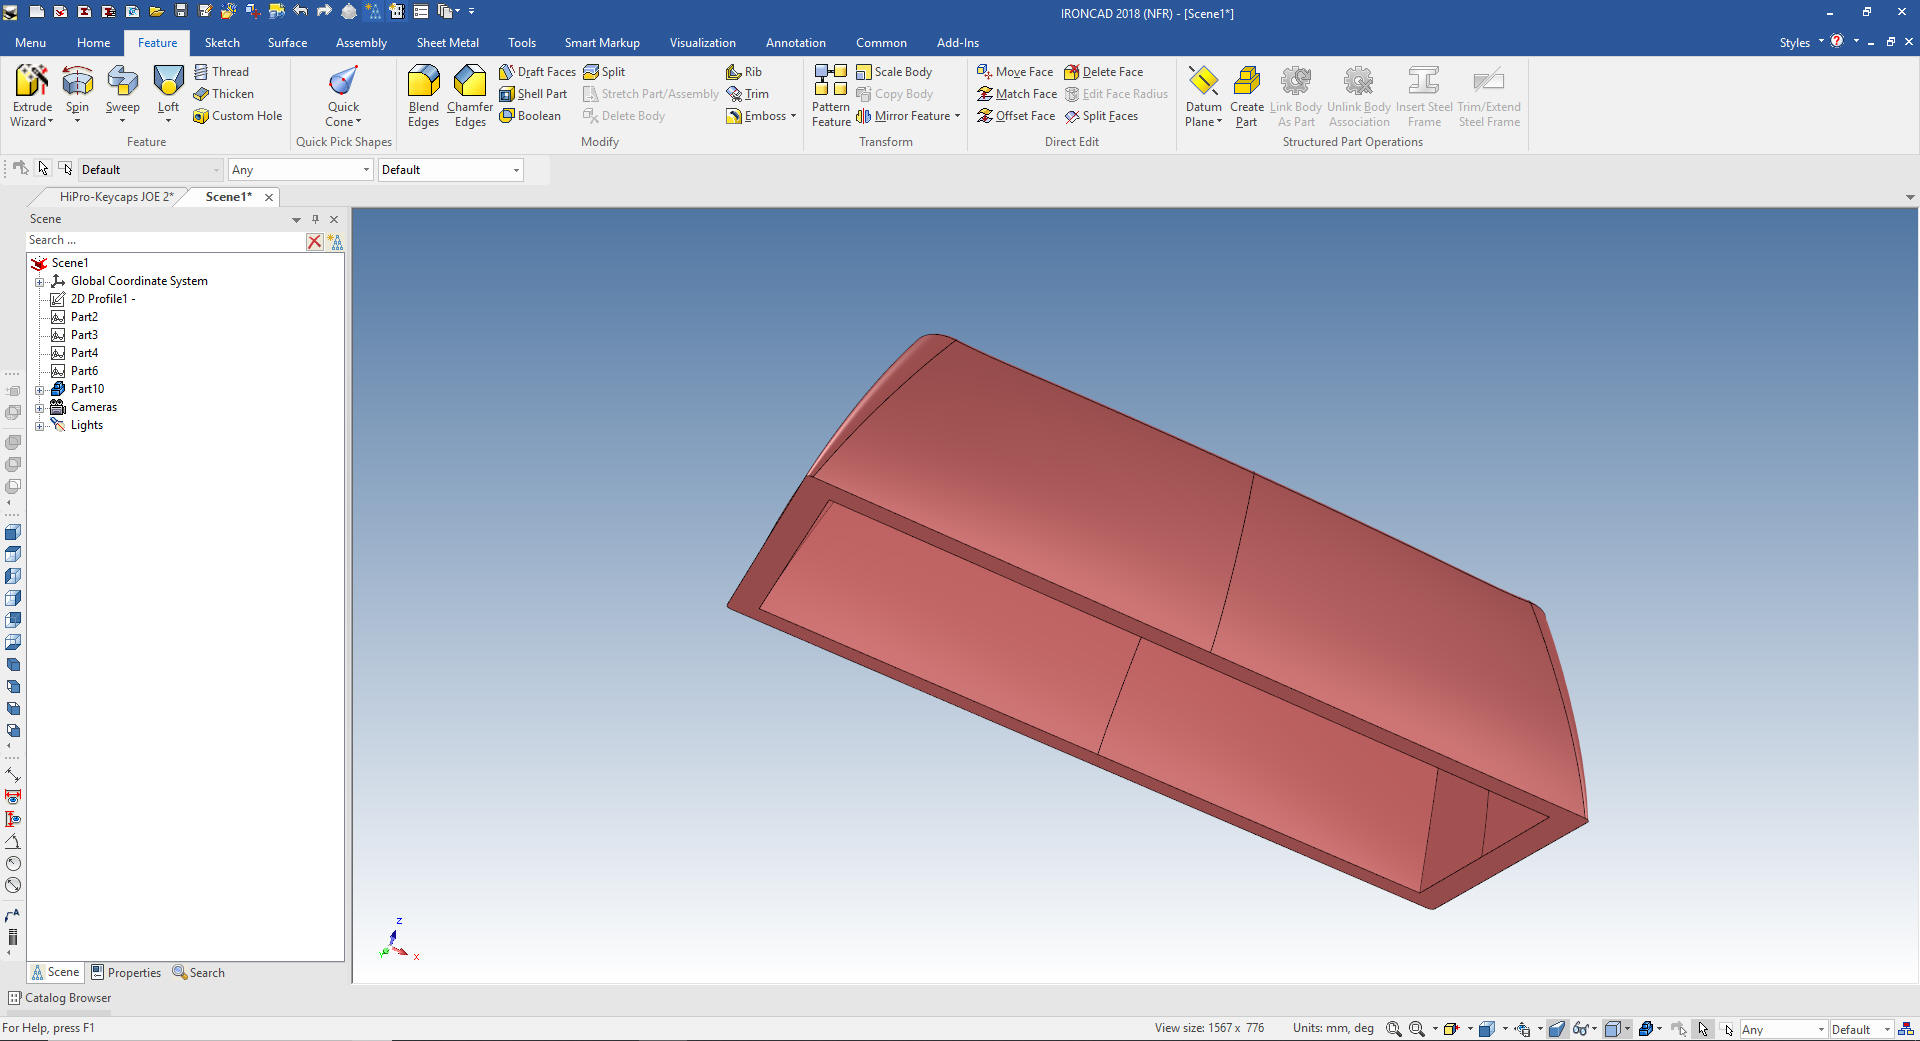
I
reimport the original key and shell it and you can see that the key
shape is basically identical.
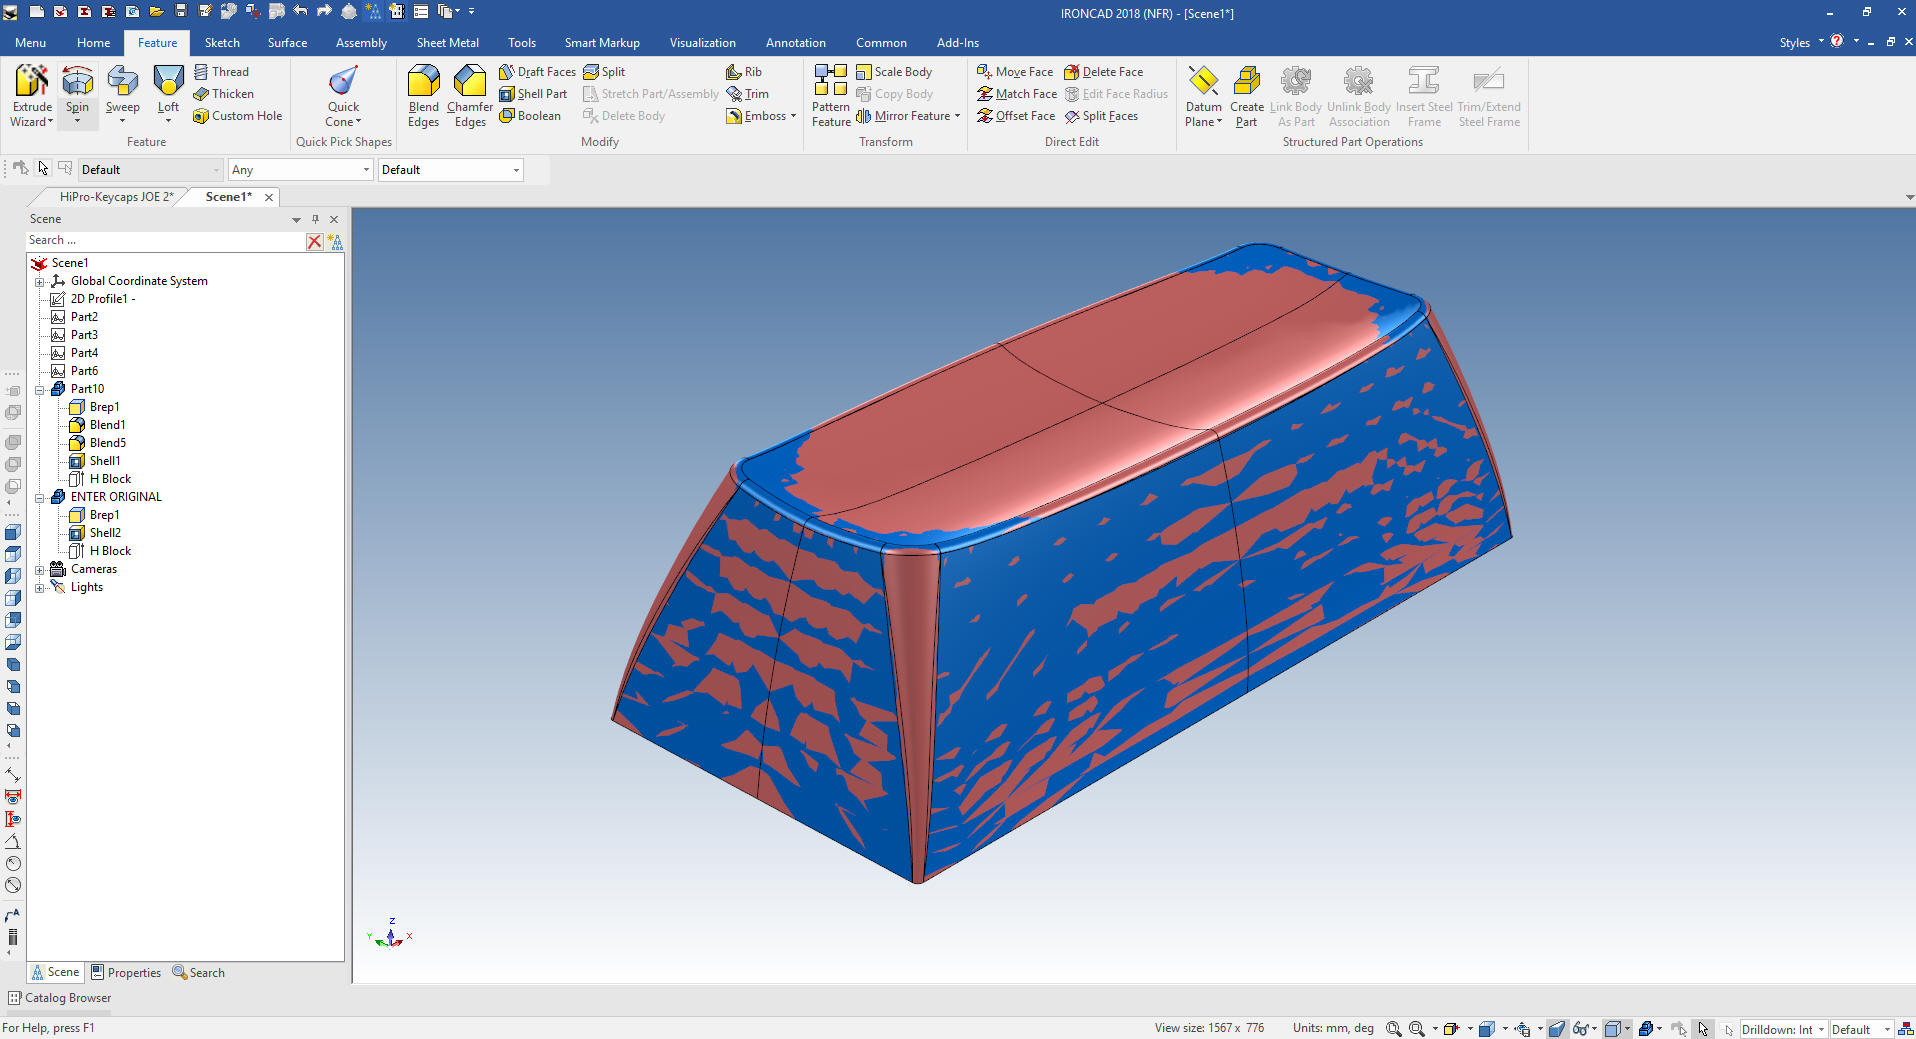
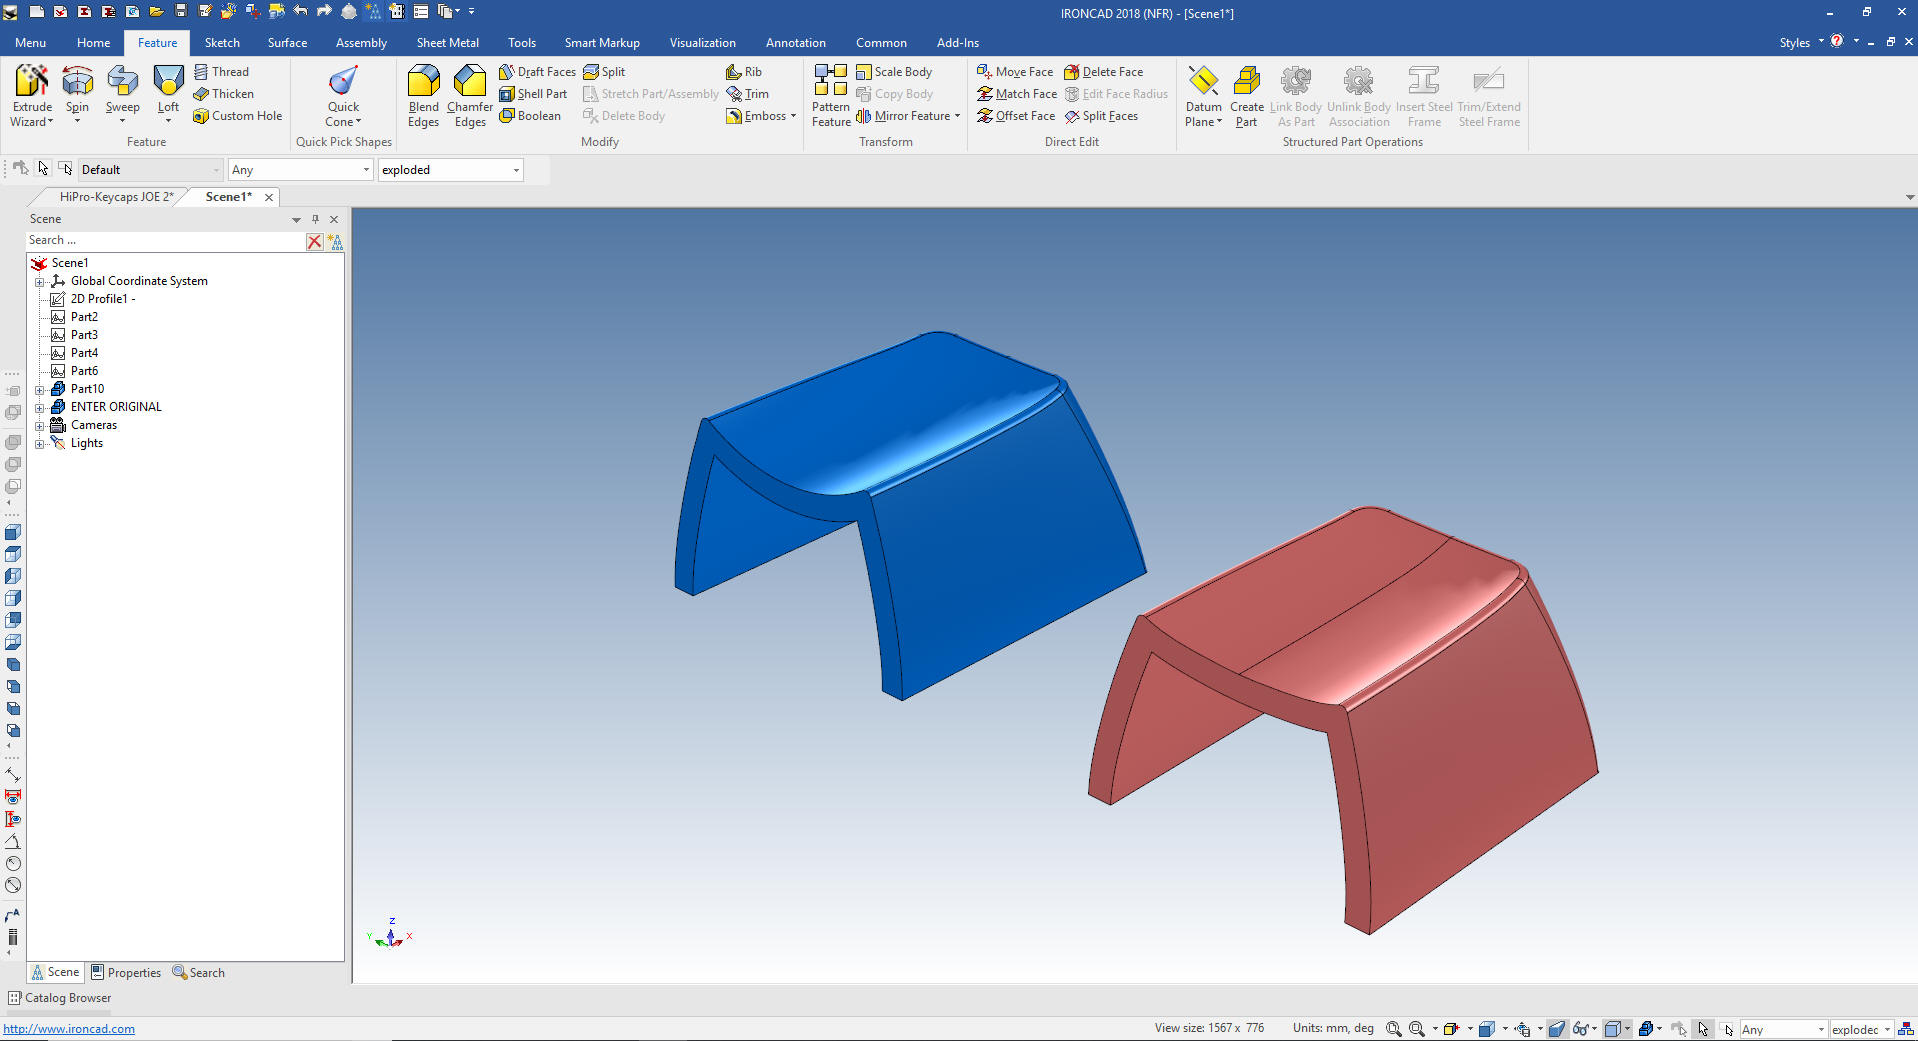
Here
are the two keys in an explode configuration with hole blocks
dropped on each showing change.
Not
so simple? Yes, many times you have to play with the parts. I have a
extensive knowledge of hybrid modeling since having hybrid capabilities
available from
the introduction of solid modeling in 1995. I was introduced to
history base modeling in 1998 with the release of IronCAD. It has
always had the flexible drag and drop, sketching and direct edit design
functionality since the beginning. The surface functionality added a
few years later was just icing on the on an already highly
productive cake.
This functionality is not easily accessible in the current Solidworks clones. I suppose I could now add hybrid modeling
to five functions defined below.
Five Functions that Increase 3D CAD Productivity!!
If you would like
to try IronCAD, please download for a 30 day evaluation.
If you would like more information or download IronCAD
To get more familiar with
IronCAD please got through the following course.
Self-Paced Training Guide - Introduction Course
Learning IronCAD! Lesson 1
Setting up the Scene (Workspace)
Learning IronCAD! Lesson Two
Drag and Drop Design
Designing with
Shapes
Learning IronCAD! Lesson 3
Streamlined Sketching
(Unconstrained Sketching)
Learning IronCAD! Lesson 4
IronCAD Intellishape Deconstructed
What are
we Dragging and Dropping?
Learning IronCAD! Lesson 5
Integrated History Based/Direct Edit Modeling
Learning IronCAD! Lesson 6
IronCAD Configuration
Managing the Single Model Environment
Learning IronCAD in ONE Minute!
After you feel
comfortable with IronCAD, import a part or an assembly from your
current system and start modifying the parts and assembly.
Assemblies will come into one single model space with all the parts
available, usually named and organized into assemblies and
sub-assemblies. IronCAD will import parts and assemblies from all of
the popular packages.
Give me a call if you have any
questions. I can set up a skype or go to meeting to show this part
or answer any of your questions on the operation of IronCAD. It
truly is the very best conceptual 3D CAD system.
Please review these other exercises that
show the unique productive advantages of IronCAD, Streamline Sketching and
Feature Based Modeling over the constrained sketching of the
experienced Solidworks user.
IronCAD vs Fusion 360
IronCAD vs Solidworks
IronCAD vs Creo
IromCAD vs NX
IronCAD vs CATIA
IronCAD vs Inventor
You
can see more on modeling techniques with ZW3D.
3D
Modeling Techniques Defined
TECH-NET Engineering Services!
We sell and
support IronCAD and ZW3D Products and
provide engineering
services throughout the USA and Canada!
Why TECH-NET Sells IronCAD and ZW3D
If you are interested in adding professional
hybrid modeling capabilities or looking for a new solution to
increase your productivity, take some time to download a fully
functional 30 day evaluation and play with these packages. Feel free
to give me a call if you have any questions or would like an on-line
presentation.
|
|

